Tag Archives: Still Life

A simple lighting technique with lovely light

The mobile phone light... soft and effective.

The mobile phone light… soft and effective.

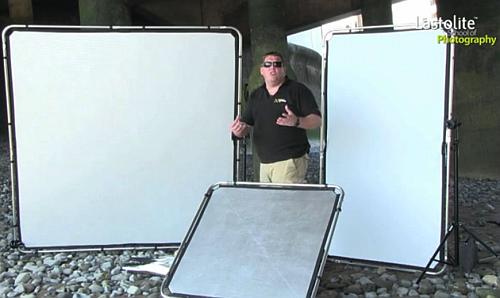
Table-top photography works with soft light.

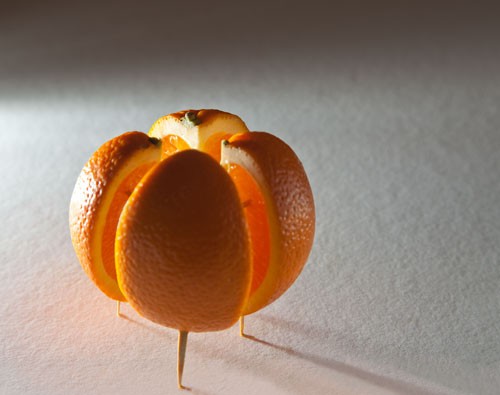
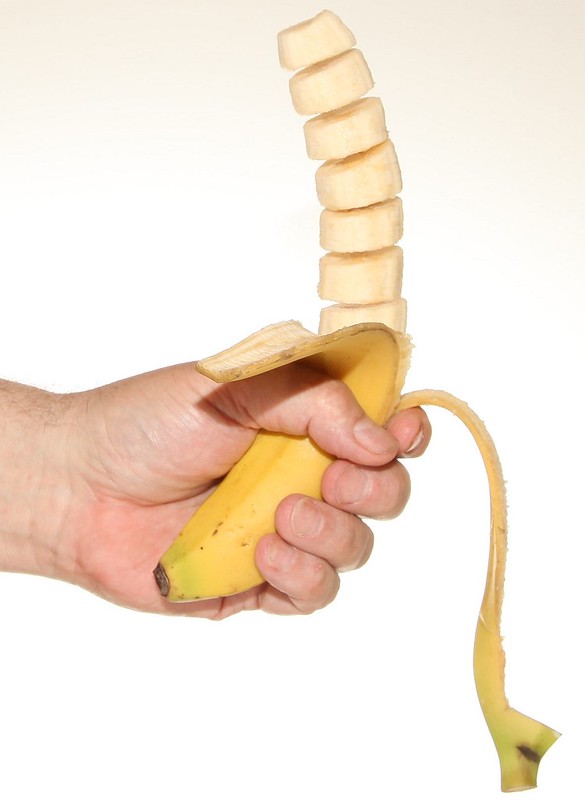
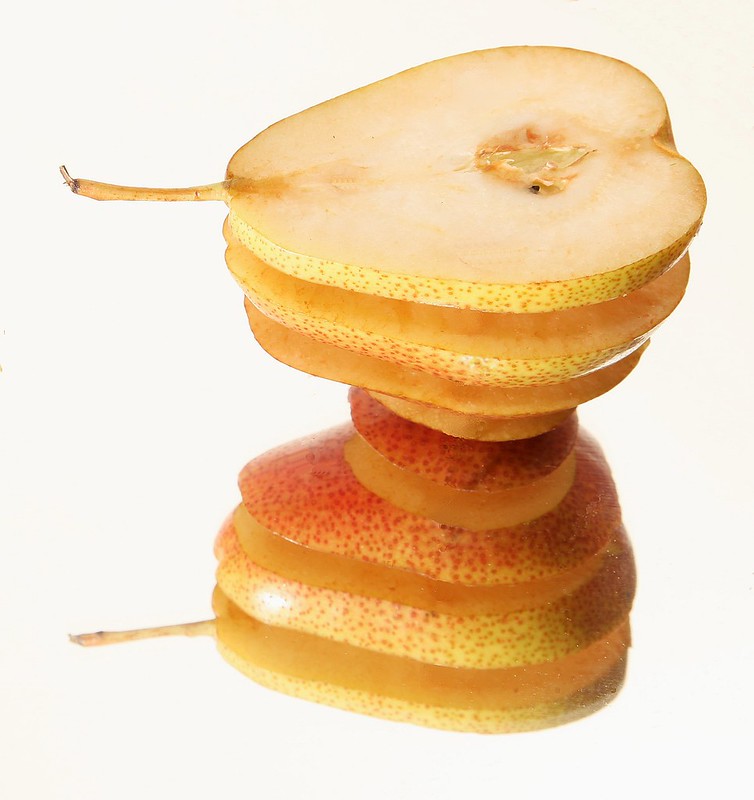
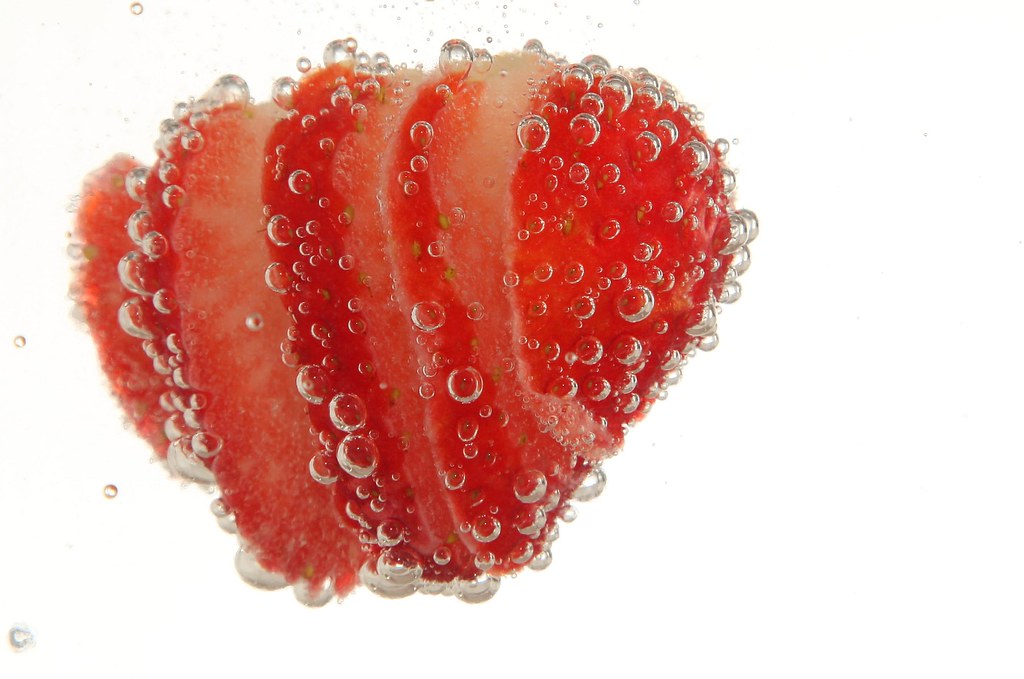
When you are doing still life shots you want soft, gentle light. Exposures can be longer so you can create lovely gentle shadow graduations. Your mobile phone provides an excellent light source for this. Here is how it is done.
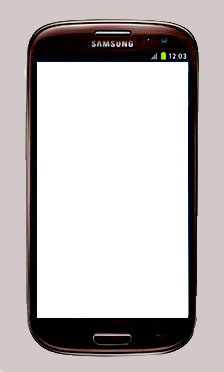
White source image

The basic technique is to put a bright white image onto your mobile screen. When you display it on the mobile screen the illumination produces a white light. This is a wonderful, quite localised soft light for your shot. The steps in detail are…

  • Open your favourite image editor
  • Create a new image (approx size 800 pixels by 600 pixels)
  • Paint it brilliant (pure) white
  • If you are on your computer save the image then upload it to your phone
  • If you are on your mobile phone save the image to a known folder
  • When you want to use the light, display the image on screen

The white image on screen produces enough illumination to create the light you want for your table top image.

Other ways to use your mobile as a light source

Of course many mobiles are also capable cameras in their own right. So here are two other ways to use them:

Photographic light: Lots of mobiles have a “flashlight” app. This will allow you to use the camera flash as a photographic light onto your still life scene. Many on-camera (pop-up flash) flash units are very strong and have a harsh light. The flash on a mobile is often much softer and sometimes is coloured to be a similar colour to daylight (approx 5500 Kelvin). This ‘daylight balance’ is a great light and worth using if you have it. Prop your phone up with the flashlight app activated and start shooting.

Coloured light source: Traditionally coloured light is produced using colour gels. However, some apps on mobile phones can create both a white light or a range of other coloured lights. One such app for example is: Tiny flashlight + LED. This is an app. for Android phones, but there are other apps. for different operating systems. If you cannot find a suitable app. you can produce a colour image like the white one above. Store that on your phone and open the image when you want that colour light.

Versatile

While the light from the screen of your phone might not be very strong, for a long exposure that is not too important. The light is wonderful and soft. As it comes from a wide source it creates lovely wrap-around shadows. These are just great for still life. Other features of phones can help with the lighting for your photography too. So, have a look at your mobile in a new light – see what you think.

By Damon Guy (author and Photokonnexion editor)

Damon Guy - Netkonnexion

Damon Guy (Netkonnexion)

Damon is a writer-photog and editor of this site. He has run some major websites, a computing department and a digital image library. He started out as a trained teacher and now runs training for digital photographers.
See also: Editors ‘Bio’.

Thinking about different types of diffusion and reflection

• Diffusers and reflectors are important tools for using light •

• Diffusers and reflectors are important tools for using light •
Not all diffusers and reflectors are the same. Watch out for the different characteristics.
Photograph showing Mark Cleghorn of the Lastolite School of Photography
and three Lastolite reflectors/diffusers from the Skylite Rapid System.

Using light – creative fun…

Many photographers assume light is passive in the scene. I get really excited about working light. You can use two methods, modify or add light. Diffusers and reflectors are powerful modifiers to manipulate light. To add light you can use flash or continuous light sources. I want to expand on modifying light.

Modifying any light

You can use a modifier of any kind to change light and make it illuminate your scene the way you want. Light modifiers can include the use of gels, softboxes, and all manor of diffusers connected directly to the light source. However, reflectors and diffusers can also be free standing. Free-standing diffusers can be used to change the light from a natural source or an artificial one. However, remember that light falls off to a quarter of its intensity each time you double the distance from the source. Using a diffuser at a distance from an artificial source is going to significantly reduce the light intensity compared to using it at the source.

Using free standing diffusers and modifiers

I have previously written about table top still life photography and using modifiers. I mentioned that you can use white card as reflectors to bring light around the back of a table top subject. You can also use diffusers to reduce the natural light from a window. I use net curtains. The point is that actually there are a range of modifiers in you home and other places near at hand. Here are some simple household items I have used…

  • Diffusers: Net curtains, white blinds, paper, tissue paper, greaseproof paper, tracing paper, plastic bottles and containers frosted glass, drinking glasses, acrylic glass, white bed-sheets…
  • Reflectors: white walls, towels, card, silver paper, silvered insulation block, mirrors, white plates, white bed-sheets, white boxes, a slide projection screen, various white materials (cotton, nylon, wool)…

You might ask why I use such a wide range of different things as modifiers. That is a crucial point. Each and every one of those items in the list have different properties. For example reflectors with very course surfaces have very soft reflections indeed – towels are an example. A large sheet of white paper can be used as both a reflector and a diffuser in different ways and it has different properties too. People often don’t realise that light coming through glass is reduced by anything up to 40%. It is also scattered. So plain, see-through glass can actually be used as a diffuser and light reducer – depending on the properties of the glass. Frosted glass is an even better diffuser.

More after this…

find out more...Photokonnexion tips by email
Enjoying this article? Please sign up for our
Tips by email service.
                                                Find out more
#11030#

Most of these different materials and objects can be used by stretching them out, hanging them up or propping them up around or near your subject. All of them have a different impact on the final image. Some of the materials are better for table tops. Others are better for hanging and using for say, portraiture.

It is the properties that count

Modifying light is NOT about buying expensive equipment. While it is nice to have great tools for the job, for the photography enthusiast there are lots of other ways of getting a great result. Amateurs, enthusiasts and beginners alike can benefit from thinking about how the light is changed rather than by which equipment. It is the end result that is important, not the method or equipment used to do it.

Look for different properties and how to use the modifiers

In the video Mark Cleghorn shows us how to use a range of professional diffusers and deflectors. I would like you to think about the different properties of each of them. He shows us silvered ones, a semi-diffuser/reflector and lots of ways to use reflectors. He also makes various points about the way to use both reflectors and diffusers. The different properties have an impact on the shot – including light intensity, colour and reflective type. Overall Mark is showing us a variety of different types of modifying properties and how to use them.

You can use this knowledge to think about the things you have around the house. Once you have used something to modify light a few times you will have a knowledge of the type of light it creates. Then, you can experiment with other objects and materials. After a while you will develop a feel for creating different types of light for your various subjects. Becoming a master of light is about knowing what you can do with the materials at hand.

Using the Skylite Rapid system from Lastolite  External link - opens new tab/page

By Damon Guy (author and Photokonnexion editor)

Damon Guy - Netkonnexion

Damon Guy (Netkonnexion)

Damon is a writer-photog and editor of this site. He has run some major websites, a computing department and a digital image library. He started out as a trained teacher and now runs training for digital photographers.
See also: Editors ‘Bio’.

Can you write? Of course you can!
Write for Photokonnexion...

We would love to have your articles or tips posted on our site.
Find out more…
Write for Photokonnexion.

Sidelight – How to capture great texture in your photographs

Rippled Sand • Sidelight creates a lovely texture

• Rippled Sand •
Beautiful soft sidelight from bottom left creates lovely shadows after each ripple. Had the shot been taken with flash from above, the ripples would have been near invisible.
Rippled sand by Seldom Scene Photography, on FlickrExternal link - opens new tab/page

The capture of texture depends on the angle of light.

It is that simple. The lower you get your light to the side of your subject the more you will create shadows that stand out. Photographers have long recognised the benefit of long shadows for their definition in landscapes. Beside the great colours of sunset, the long shadows from sidelight provide character and definition to the landscape.

The same idea can be applied to the much smaller scale. Still life, studio set-ups and even drying paint can all be enhanced by sidelight. When working with smaller subjects, “get in tight and sidelight” is great advice.

Vintage Store Photo Challenge

This is the best video I have seen on working with smaller objects and side lighting. Gavin Hoey explains with an off-camera flash how to bring out texture and detail in still life photos. This is a very simple lesson. After seeing it you will want to explore side lighting further.

After the video there are some more resources on the subject…


Approaching sidelight with your images

In the video Gavin Hoey used a diffused speedlight, off-camera flash. In the post “Off-camera flash” you can find out all about what they are and the functions they provide.

If you want to improve your off-camera flash working with some sort of diffuser is a great idea. I have worked with a range of off-camera flash diffusers over the years and often been disappointed. I am really enthusiastic about the Rogue Flashbender range of diffusers. I use the Large Rogue Flashbender and the diffuser to go with it for work and my own projects. It is an exceptionally flexible piece of kit and occupies only a tiny space in your kitbag since it rolls up very tightly. The whole Rogue Flashbender range are great products and worth checking out.

One of the great tools I keep within reach when doing table top photography is the little LED light unit below. Designed for camping it has become a great light for my table top product work. It is small, adaptable and very cheap to run as it uses very little battery power.

I have two of these and place them on the table lying down or on end. The light itself is quite white so it will not give you colour casts. If the light is too harsh I just cover the LED panel with tracing paper or ordinary (white) toilet tissue. The tissue-light is gorgeous, soft and easy to use. These are excellent products and inexpensive to buy. They are probably the simplest way to set up a table top sidelight.

Working with people, stronger light gives you more control over freezing your subject. For portrait work a flash helps. To freeze a portrait for a sharp picture use a brighter light and a short exposure. A side-lit portrait is 100% better than a pop-up flash shot where the light is straight on. For this, the off-camera flash is the way to go. You have the flexibility to create a sidelight that creates shadows that define the face. Make the light as soft as possible so the shadows wrap around. Avoid hard or harsh shadow lines on faces. It is not flattering.

At the other end of the scale the low intensity light of the LED panels allows for long exposures when using static subjects. Use a longer shutter time if you want your subject to be lit more brightly. Of course to do that you will need a way of steadying your camera for long exposures. A tripod is probably best in this situation.

The way to go…

In the wilds, or doing table-top studies the best light comes in from a shallow angle as sidelight. It is the shadows that define objects and bring out strong textures. Look for side lighting where ever you can, and create it yourself if the natural light can’t do it for you.

find out more...Photokonnexion tips by email
If you enjoyed this article please sign up for our
daily email service.
                                                 Find out more
#11030#

By Damon Guy (author and Photokonnexion editor)

Damon Guy - Netkonnexion

Damon Guy (Netkonnexion)

Damon is a writer-photog and editor of this site. He has run some major websites, a computing department and a digital image library. He started out as a trained teacher and now runs training for digital photographers.
See also: Editors ‘Bio’.

Can you write? Of course you can!
Write for Photokonnexion...

We would love to have your articles or tips posted on our site.
Find out more…
Write for Photokonnexion.

A simple project with fruit – a tutorial for fun!

• Orange •

• Orange •
Have a go at producing a floating orange in “exploded view”
Click image to view large
Orange By Netkonnexion on Flickr External link - opens new tab/page

Fruit is fun!

This tutorial will show you how to photograph fruit in all its glory – in a unique way. There are ways you can make the project your own with plenty of room for creative ideas. It is an easy project giving you some useful tips for still life lighting and working with a high key background. Have fun!

The picture of the orange

The picture above shows an orange, a wonderful fruit, in all its glory. We can see both inside parts and out. In this tutorial I will show you how to create this yourself and show some other similar examples to give you some ideas of your own. This tutorial will cover the following simple steps:

  1. Pick a good firm, clean orange.
  2. Cut it into quarters.
  3. Assemble the orange in an “exploded view” using toothpicks.
  4. Create lighting to show off your orange without highlights.
  5. Finally you will clone out the toothpicks on the computer.
Choose your fruit

Be careful, make sure that your orange is nicely shaped, no odd depressions or bruises, and as firm as possible, not over-ripe. Check the skin for consistent colour too. You want your orange to look delicious. No one will be interested in your shot if it is damaged, dripping and discoloured. Also, wash and gently wipe the skin before starting the tutorial. The skin should look bright and clean. Dirt, hairs and marks will really draw the eye of the viewer. Don’t let them be distracted.

Constructing the orange

Cut it in four pieces top to bottom (two cuts). It helps not to have too many cuts. Cut carefully and accurately. If you hack the orange you will be adding distractions to draw the eye. Be careful and slow to ensure accuracy.

Once cut we are going to assemble the orange in an “exploded view”. That is the term used to describe an “almost” assembled item that is floating in space so you can see how it would assemble. To hold the pieces apart I arranged the quarters using tooth picks. In the picture below you can see how the orange is braced with the toothpicks. The picture also shows how the back lighting is set up.

• The toothpick set-up and initial back-lighting •

• The toothpick set-up and initial back lighting •
• The toothpick set-up and initial backlighting • By Netkonnexion on Flickr  External link - opens new tab/page

You can see from the picture the orange is held firmly together by the toothpicks. It is also supported by four toothpicks as legs. We want the orange to be slightly off the ground so it has the feel of an independent object in space.

The white card under the orange extends to the edge of a table. On a chair a little way back from the table is another upright card. You can see the white back-card is very bright. I used a strong light under the table to illuminate that card giving it a high-key brightness. There are some links at the end to explain more about high-key effects.

We want to take the final shot with a little shadow under the orange. This give the impression the orange is floating in space. I will light the orange from the front with a flash. You can use the flash on your camera. However, that will create a very sharp shadow since flash is a very hard light. This means very harsh, sharp-edged shadows that will be quite dark.

In the next picture you can see how I created some under-lighting below the orange to soften the shadows created by the flash. I have two cheap Rolson 61770 72 LED Camping Lights. These are really flexible for table-top still-life and can be easily set up for fill light. They are great lights and affordable.

The underlighting setup to soften the shadows and create fill light.

• The underlighting setup to soften the shadows and create fill light •
• The underlighting setup to soften the shadows and create fill light • By Netkonnexion on Flickr External link - opens new tab/page

The lights under the orange and the back-lit card provide light on all sides except the front. If you have an off-camera flash you can use that, off-set to one side, for the front lighting. It is important to off-set so that you prevent ugly highlights on the front of the orange. Better still you could bounce the light off the ceiling if it is white. That way the orange will be evenly lit from above. To find out more about off-camera flash and some great opportunities for affordable models see:

If you only have a pop-up or on-camera flash then you should find a way of diffusing the light from it. Alternatively you could create a diffused reflection. You should be trying to find ways to prevent the flash pointing directly on the orange. Bright highlights would be created that are distracting and ugly.

Once the lighting is set up to your satisfaction you need to position the orange for the final shot. It is important to spend a little while positioning the orange so it obscures as many of the toothpicks as possible ready for your final shot.

The final position ready to photograph the orange obscures as many of the toothpicks as possible.

The final position ready to photograph the orange obscures as many of the toothpicks as possible. Then there is less cloning work to do on the computer.
The positioned orange By Netkonnexion on Flickr External link - opens new tab/page

You can see from the picture that the orange is positioned so most of the internal toothpicks are not visible and the legs are minimised. Once the shot is taken we are going to clone out the remaining sticks. So if you have less showing you have less cloning-out to do.

Now you are ready to take the shot – shoot it! Make a few attempts. Do plenty of chimping to ensure you have the lighting right. Pay special care to minimising highlights on the orange. When you are ready you can download your shots to your computer.

The remaining work is to clone out the toothpicks. You will need to very carefully clone the white surface around the legs over the legs themselves until you can not see them any more. Pay attention to any shadows so that they remain realistic and consistent after your cloning is finished. When cloning over the toothpicks in the orange interior use the same coloured flesh of the orange to clone out the remaining toothpicks you can see.

If you are not familiar with cloning techniques you can see a tutorial here: Getting Started With Cloning.

find out more...Photokonnexion tips by email
Enjoying this article? Please sign up for our
daily email service.
                                                Find out more…
#11030#

If you want to try other ideas here are a selection of other fruit-cut pictures below. All done using toothpicks or cocktail sticks. There is an infinite variety of things you can do using this technique so have lots of fun!

• Sliced Banana •

• Sliced Banana •
Click image to view large
The banana slices were held together with cocktail sticks while the shot was taken. Then they were cloned out afterwards.
• Sliced Banana • By Netkonnexion on Flickr External link - opens new tab/page


• Sliced pear on mirror •

• Sliced pear on mirror •
Click image to view large
A half pear was sliced and held in the exploded view with toothpicks. However, the pear was on a mirror – giving the effect of an inverted pear.
• Sliced pear on mirror • By Netkonnexion on Flickr External link - opens new tab/page


•  Alexander The Grape •

• Alexander The Grape •
Click image to view large
Each grape was painstakingly held apart using cocktail sticks.
• Alexander The Grape • By Netkonnexion on Flickr External link - opens new tab/page


• Strawberry Layer Drink •

• Strawberry Layer Drink •
Click image to view large
The strawberry has been sliced and held together with toothpicks. Then it has been placed in sparkling water to create the bubbles.
• Strawberry Layer Drink • By Netkonnexion on Flickr External link - opens new tab/page

By Damon Guy (author and Photokonnexion editor)

Damon Guy - Netkonnexion

Damon Guy (Netkonnexion)

Damon is a writer-photog and editor of this site. He has run some major websites, a computing department and a digital image library. He started out as a trained teacher and now runs training for digital photographers.
See also: Editors ‘Bio’.

The simple secrets of the single subject shot

Cabbage - the single subject photo allows an in-depth study of the subject

Cabbage – the single subject photo allows an in-depth study of the subject. Getting the shot to work is a matter of how you present it.

Working with one item in a picture helps you get deep into the concept.

Using almost any perspective, you should be looking to bring out the character of your subject and explore its nature. To portray your subject well you should think of these simple ideas.

A while ago I asked members of the 365Project what I should consider when doing a single subject photograph. The ideas below are developed from that discussion.

Background

Many simple subject shots have no background. Put the subject into the centre of the viewers vision and fill the frame. My cabbage (above) is an example. However, if you have got a background make it simple. This is a great way to use a high-key shot. A bright featureless background throws the subject right into the foreground. The bright background highlights the subject and focuses the viewers attention. Alternatively, dark backgrounds can be good too. Remember that they also need a bright subject to carry them off if you are exploring the nature of your subject, and not just portraying its moodiness.

Focus, Lighting, colour and Texture

In a single subject photograph you explore your subject. The character of something is shown by its shape and form. Lighting and colour bring out the shape and form by exploring the shadows and textures. Lighting is key to the success of the shot particularly by creating texture. Remember, as you take a low angle of light across the surface of something you create more texture. The light and shadows are longer and darker with a small angle. Pay attention to the lighting and colours that make that texture stand out. Really accentuate the contrast of light and dark as well as colour variation.

Perspective or the angle of viewing

Perspective is particularly important in single subject shots. It is easy to make a single item look flat – especially if it has little surface texture. Consider what angle you photograph your subject. Try to show its perspective – the diminishing size with distance from the eye. If that is not possible show the form by exaggerating curves or by capturing angles.

Normally many of the objects we look at are seen from above. It’s natural really since we hold things in our hands and look down. To bring out the character of your piece viewing it from a different perspective helps to highlight its character. You are forcing the viewer to look at it in a new way. Show it from below. Or take a shot from the side – any angle showing shape and form which is different to a normal view. Try to show how the subject varies its shape with distance from your eye. Exaggerate it if necessary. I find using a wide-angle lens in close up often brings out the shape and perspective fully. You will need to experiment.

Composition

Filling the frame is not essential. The rule of thirds is a great way to display simple shots with one subject…

Composition is important to draw the viewer into the image.

'Rule of Thirds'
A powerful compositional tool.

Other placements work too. Normally central placement in a scene is boring. In single item shot a central placement with a square crop is quite fashionable at the moment. Try anything to increase the interest value and draw the eye.

Don’t show it all

A feeling of mystery is a great way to pull the eye to a subject. Consider cropping your subject hard so that some of the shape, form and texture of the subject is left to the viewers imagination. You don’t need to show the whole subject for it to become alive in the viewers mind. Unless you intend it, be careful not to create an abstract when cropping hard. A single subject photo is about your subject. An abstract is about the attributes of the subject. Often the eye cannot see the whole subject in an abstract and people may not know what they are viewing. This would not be showing the character of the object. It is a fine line. What you are intending to show should be clear. That is the key to success.

My thanks to the members of 365Project who contributed to this discussion and to my thinking on this subject. The discussion on this, including some excellent example pictures is still available. Please do visit: Single subject photographs External link - opens new tab/page.

50 ways to do it at the weekend!

Inspiration – just when you need it

When it comes to photography the inspiration seems to be there until you actually pick up the camera. I must admit I have ‘idea’ days and I have brain-dead days. So sometimes it helps to get a few ideas from somewhere else when it comes to brain dead days.

I have added below a short video with lots of interesting photos to set you thinking. The fun thing is that most of these pictures give you ideas for doing shots with stuff lying around the house. That is great because it does not require much activity to get going and do something with your camera. That’s just right for the weekend.

Here are three tips to help you when doing still life or shoots with things from around the house…

  • Make sure everything is absolutely clean. It is so easy to ruin a shot because it is dirty or dusty. When it is opened up in full size you will see dirt all over if you do not clean it properly before the shot.
  • Use soft lighting. It is very difficult to make hard light look atmospheric or effective unless you are doing a murder scene!
  • Use longer exposures than if you were taking shots outside and a use a tripod too.

Some quick tips for still life inspiration and shots

You can find some surprisingly artistic displays in shop windows.

You can find some surprisingly artistic displays in shop windows. It is easy to get some great ideas for still life work later. Or, you can just photograph them in the shop.
Click to view this image in full size.

Get some easy but creative still life shots

I love shop windows. I especially like those boutique type shops where the owner has a sense of art. Shop window displays are by nature well designed, artistic and attractive. Well, they are if the owners want to entice people into the shop. Here is an idea to help you out with your still life shots.

Still life inspiration

Window displays are usually simple and attractive. The shop owner doesn’t want to spend a lot of money on the display. They do want it to draw customers into the shop. Take advantage of this artful situation. Look at the the picture above. It’s a simple box constructed from rough wood, lined at the back with a scrap of net curtain. Wow. Effective. You could display all sorts of things in this. There are also dozens of ways to light it. Here is a simple and effective way to really emphasize your product, your still life, your collection… you name it. Great inspiration. So, take a walk up the high street and see what still life shots you can think of from peering into shops. (More after the jump…)

Display photography

The shot above, ‘Shoes in a box’, was actually taken in a shop window. I do quite a lot of these. The shots are easy to do. They give you great ideas too. More to the point, if you take them after dark they are usually under pretty good lighting too. One walk up the high street after dark about every month and you will come back with a crop of great still life photographs. Everyone will think you have great creative skills. In fact you are getting ideas from shops and getting some great practice.

Here are some points to help you and some things to consider…

  • Remember to be properly prepared for night photography.
  • Turn off auto-focus – focus manually. Auto-focus will focus on the window glass if reflections get in the way.
  • If you use a flash make sure that you know how to turn it’s power down. Shop window shots are quite close-up and flash is pretty intense. It is possible to overpower the shops’ display lights. This will seriously change the character of your shot.
  • Use a diffuser on a flash to make sure you don’t get hard light flashes off the shop window.
  • Reflections from street lamps on the glass? Hang your coat on a tripod to block the light beams or get your friend to hold the coat up.
  • Use off-camera flash. It is best when shooting through glass. You can angle the flash away from the axis-of-light to your camera. Camera mounted flash tends to give a strong flash-reflection right in front of you.
  • Shoot from the side (at an angle), not straight at the glass. You will be less likely to see your own reflections in your shot.
  • If you do this at night make sure you have a friend for safety and help.
  • Don’t look suspicious. If you work openly and tell people what you are doing if asked everyone will laugh and be on their way. I have done this for a number of years and never had an ‘incident’.
  • If you are accosted or you appear to have upset someone then stop what you are doing, apologise and move on.
  • No-one, including the police can make you delete a photograph. See: The Right to Take Photographs (UK relevant).

I have had some great fun and some great ideas with window-shooting over the years and you will too.

By Damon Guy (author and Photokonnexion editor)

Damon Guy - Netkonnexion

Damon Guy (Netkonnexion)

Damon is a writer-photog and editor of this site. He has run some major websites, a computing department and a digital image library. He started out as a trained teacher and now runs training for digital photographers.
See also: Editors ‘Bio’.