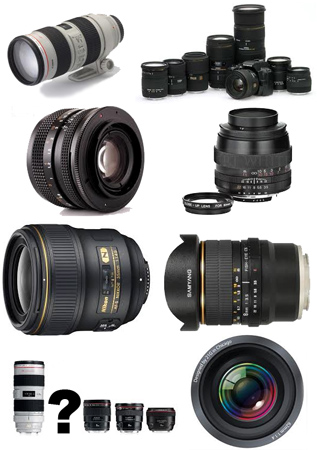
• Cokin neutral density filters (graduated) •
A quality set of filters that can be adapted to fit any lens size.
Buy: Cokin H250A ND Grad Kit
When your sky is too bright its a problem!
You lose all or most of the detail and your foreground is starkly highlighted by the blown out sky. The way to overcome blow out like this is to use various techniques with neutral density filters. All landscapers come across this problem at some time. The best way to overcome the issue is to tackle it head on in-camera. The best way to do that is to use “graduated neutral density (ND) filters”.
What are ND filters?
Neutral density filters are glass filters that you reduce the incoming light. They do this without affecting the colours in your shot. For blown out skies you want to reduce only the incoming sky light and allow the foreground to expose properly. The Graduated ND filter will allow you to achieve that.
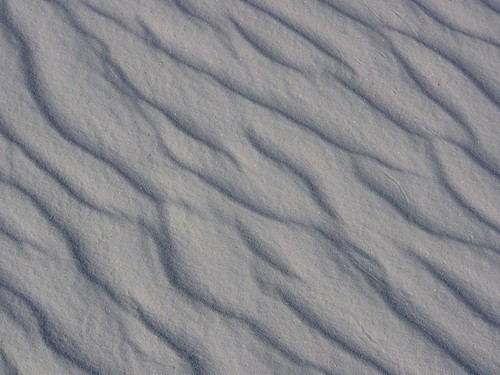
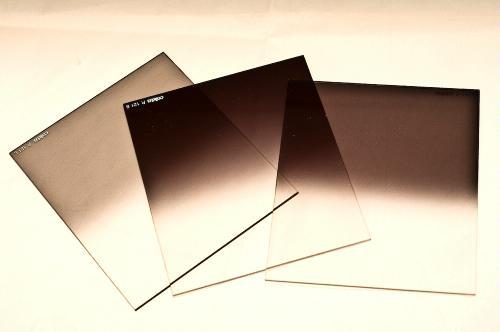
In the picture above you can see the top half of each filter is dark. The bottom half is uncoloured glass. The trick is to place the filter in front of your lens. Place it in such a way that the line separating the dark and light lies on the horizon between the ground (proper exposure) and the bright sky which will be toned down by the filter.
If the sky is blown out in your picture the light is brighter than the camera can cope with. Normally that will be two stops of light or more above your exposure of the ground. The ND grads. normally come in three strengths. ND2 (two stops), ND4 (four stops) and ND8 (eight stops). Each stop of filtration is equal to half of the total light. An ND2 reduces the light by a quarter. An ND8 will cut down the incoming light to 1/16th of the light.
Video – Graduated ND filters for Landscape Photography
In this short video Tony Sweet demonstrates how he balances the dynamic range of a landscape composition using a graduated ND grad. filter working in a wooded valley. He wants to brighten the foreground with a long exposure. This would lead to the distant trees being too bright and would show burnt out spots. He uses a great technique to make the right light conditions…
Recommended purchase
I have been using Cokin filters for years. They are high quality filters that fit into a filter mount screwed onto the front of your lens. I prefer this type of fitting. It is simple to change filters and you can adapt graduated filters to the position you want quite easily. Round filters are far less adaptable and tend to be much more expensive.
If you want to buy an ND grad set of filters here is the kit I recommend…
Cokin H250A ND Grad Kit
You will also need to buy an adaptor for your lens to fit the filter mount. You can buy them singly…
Cokin filter mounts and lens adaptors
You can also buy a complete adaptor kit so you can adapt your filters to fit any one of your lenses…

If you feel like going the the whole way you can buy a kit that will cater for all your filter needs (including mount and adaptors) try this great kit…

Start Photokonnexion email subscription now!
Photokonnexion Photographic Glossary – Definitions and articles.
Photographic composition
Definition: Neutral Density Filters; Graduated Neutral Density Filters
General articles on filters on the Light and Lighting resource pages.
By Damon Guy (author and Photokonnexion editor)

Damon Guy (Netkonnexion)
See also: Editors ‘Bio’.

Find out more…
Write for Photokonnexion.