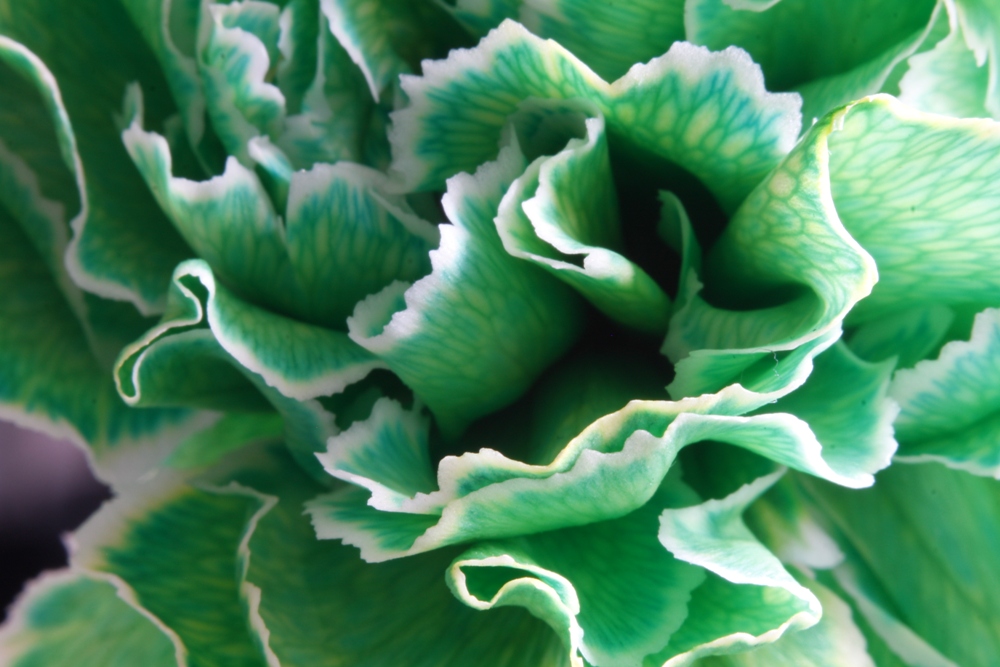
• Beat it up! •
Click image to view large
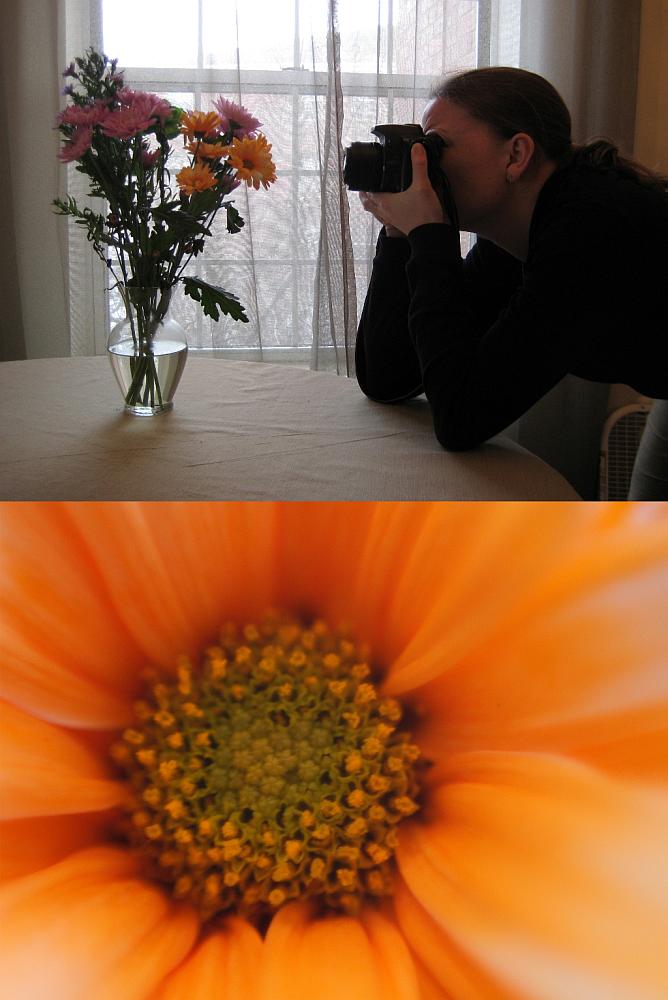
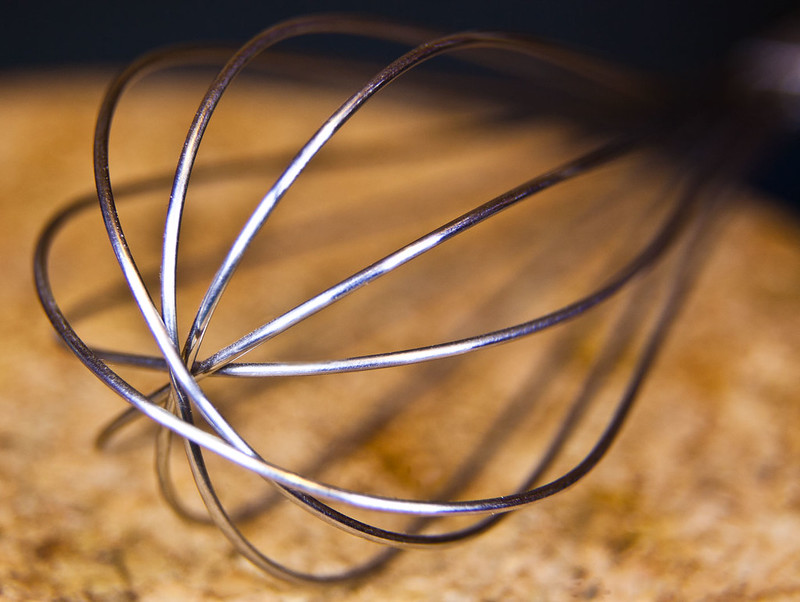
Beat it up! By Netkonnexion on Flickr ![]()
To really look at a subject you have to see it as you have never seen it before.
Cultivating the photographers eye…
What the “eye” really means is difficult to define. One thing’s sure. As “photographers eye” develops you see things differently. Refining your vision to see differently is how you develop your version of the ‘eye’.
Looking at the scene
In Working the scene I described how to walk through the scene, understand the angles and ideas that relate to the scene and ways to find “the” shot. At first it is not a simple process. You are developing a habit. Doing things that you would not do naturally.
Standing up and using the camera from your normal eye position makes your subject look like you always see it. Surprisingly, it is also the same way most others see it too. Where is the novelty, interest and insight in that? Photographers eye, Seeing the subject in a different way requires refining your vision.
Well, you can change it all by studying your subject from new angles, new light and with new perspectives.
What if the scene is a close up subject?
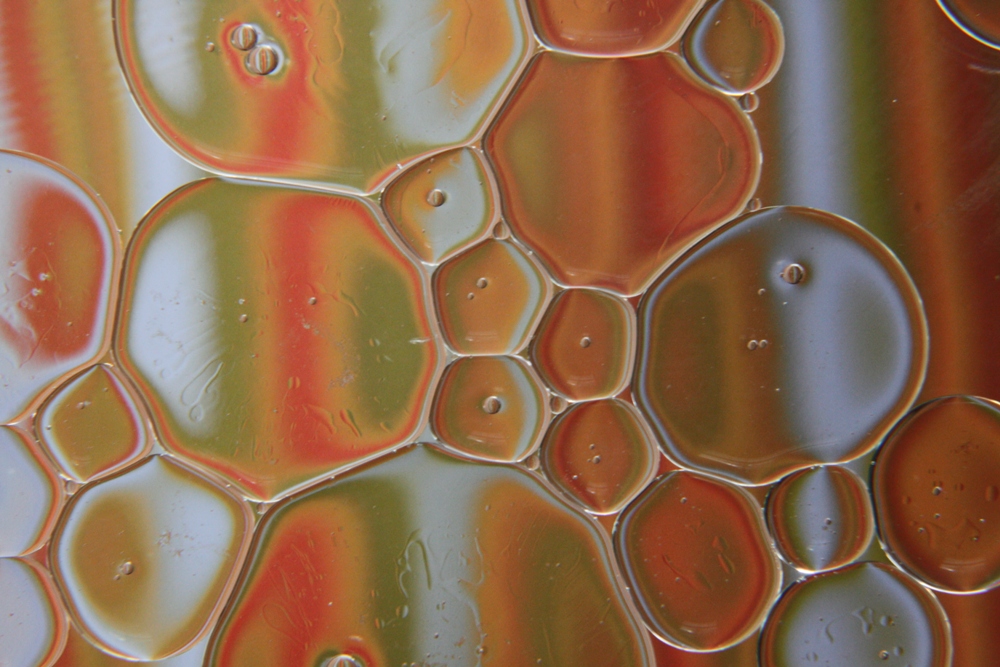
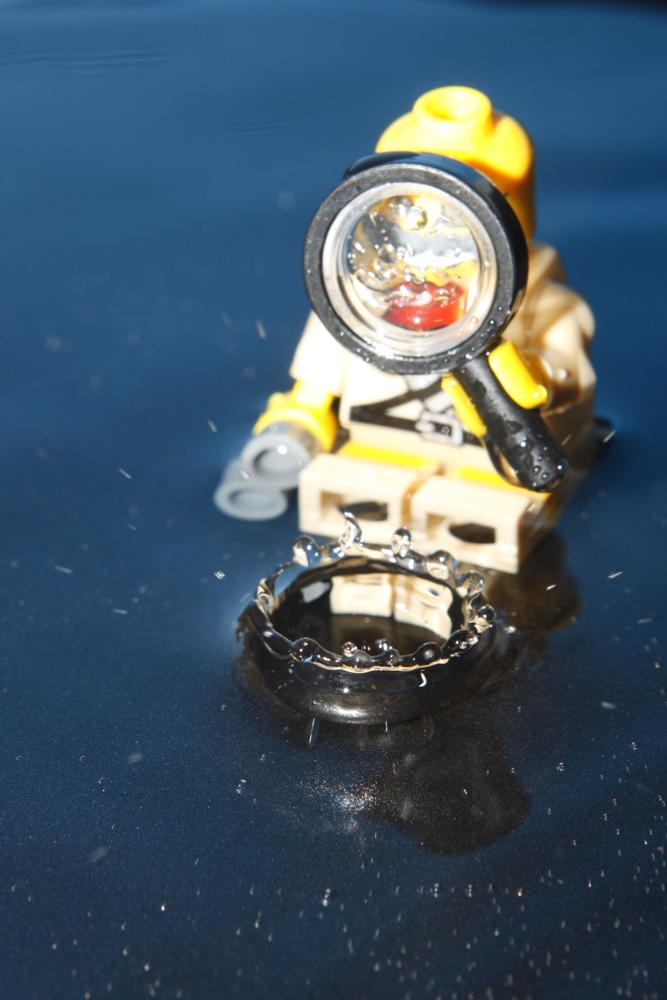
A wonderful thing about photography is the ability to isolate a subject, get in close to it and examine it in a way we normally do not try to do with our eyes.
The challenge is to do things differently so we can see things differently. In this blog I often urge people to get in close – fill the frame. That is one way to see a subject anew. There are others. Below, there are some ideas to get you to see your subject differently.
Photographers eye – Getting in close:
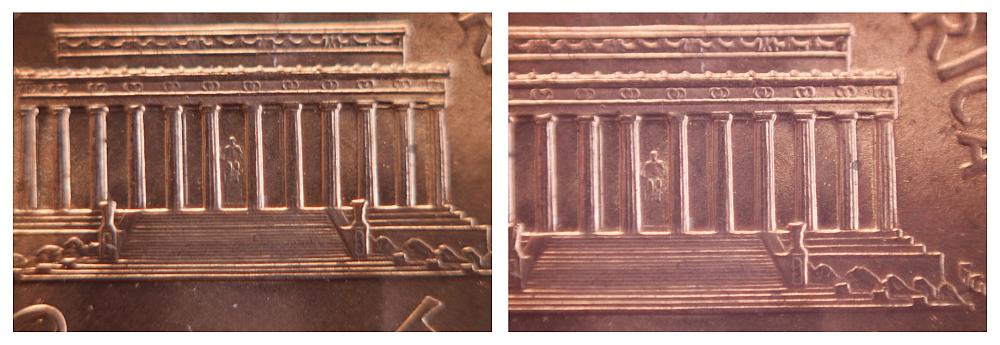
Really close means a macro lens. If you don’t have one then you can get some macro extension tubes. These are an inexpensive way to do macro photography. However, the way to see things differently is to try and see the subject in ways that are different to the everyday perspective. Using a macro lens, tubes, or even very close with an ordinary lens you need to be versatile. Get around your subject, see it from at least ten different positions. Try to make every shot different. Take every shot as if you are seeing the subject as a new object. Don’t just look at the whole subject, get right into the tiny detail, all of the tiny details. (See Amazon search results for macro extension tubes
![]() ).
).
Photographers eye – Getting the Angles
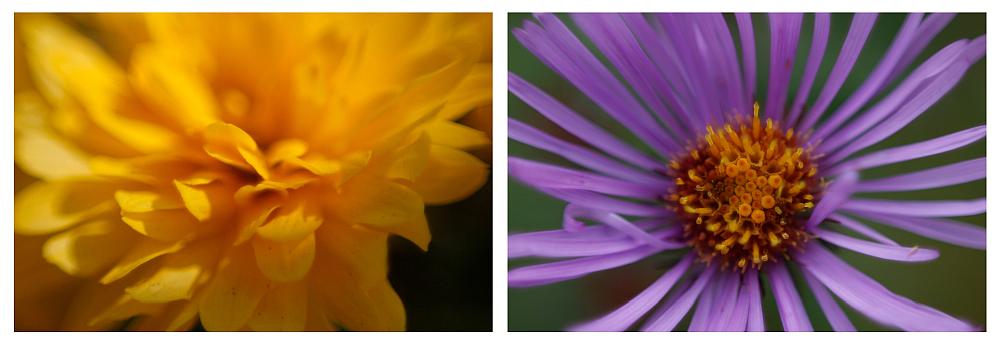
Developing your vision is not just about details, even if there are lots of them. Try taking each detail from a whole range of angles, under, over and from the back too. Angles on a subject help to start you looking at the aesthetics of an object. Look for curves, pleasing intersections, great lines, diagonals… Anything that helps you to see the beauty in a subject and shows it in a new way.
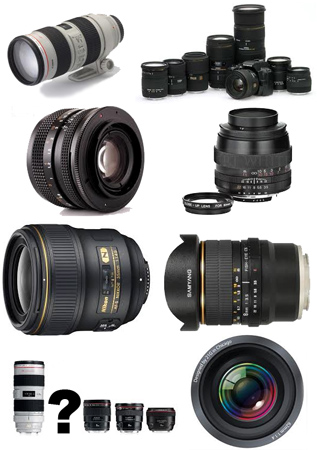
Photographers eye – Using different lenses
If you have them, explore the subject using a range of lenses. Get wide. Go long. Try fish-eye. Work with a prime. Go with whatever lenses you’ve got. The idea is to show the subject in a variety of different ways. Every lens has its peculiar characteristics and distortions. Training your eye to see a subject in different ways by using different lenses is one way to become sensitive to photographic perspectives. You will begin to see how a camera sees. If you only ever use one lens you will begin to see everything in a plain way. If you can see things in a variety of different ways you will begin to start looking at things differently.
Photographers eye – seeing different light, different exposures
Light is the essence of everything we do in photography. While you are working with small subjects (like in my picture above) you can make changes to the light. You can use ambient light, window light, natural light, reflected light and domestic lights. Then there are coloured lights, soft light, hard light, and even laser light. Then, you also have dozens of different ways to use artificial photographic lights too. Added to these different illuminations you can also develop a whole range of exposures. You can explore your subject as under-exposed, over-exposed, dark or bright. You can use shadows, different light angles, different light heights. There are literally thousands of ways to light and expose any one subject. Explore as many of them as possible.
Other variables:
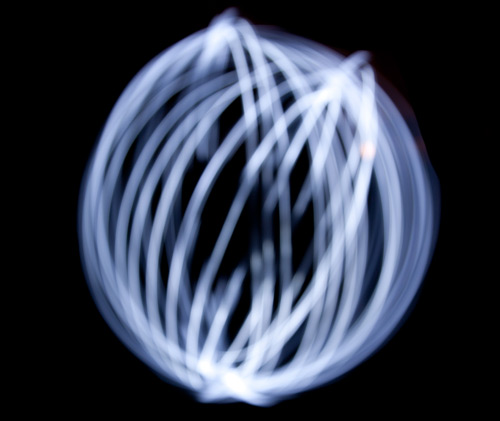
Try different backgrounds, different colours and different textures on your subject. Vary through monochrome, colour, colour intensity… try it against black or against white. Use different depths of field, more bokeh, less bokeh. Blur, movement… Try everything. Just make it you mission to look for the different way of doing it.
Refining your vision – developing photographers eye
Developing your vision as a photographer is about understanding the way you can shoot things differently to other people. You are trying to deliver to your viewer a different view of the world. To find what you are good at, what your unique perspective is, you must explore a universe of different approaches. Work with new angles, light variations, colours… well everything discussed above and more.
When you see a new subject get into it, explore it, by trying everything you can to see it anew and in a new light (literally). After a while, with practice, you will develop the photographers eye. To do that you must learn to see new ways that you can take a shot without actually needing to take it. Then you will be envisioning the shot in advance. You will also be developing your eye – your unique eye. You will have learned to see differently and to have put your particular style into your shots.
Comments, additions, amendments or ideas on this article? Contact Us
or why not leave a comment at the bottom of the page…
Like this article? Don’t miss the next — sign up for tips by email.
Photokonnexion Photographic Glossary – Definitions and articles.
Composition resources on Photokonnexion
Light and Lighting – Resource pages on Photokonnexion
Working the scene
Ambient Light (A Glossary entry)
Soft light (A Glossary entry)
Natural light; Sunlight (A ‘Glossary’ entry)
Hard light (A Glossary entry)
Depth of Field (A Glossary entry)
Bokeh (A Glossary entry)
Macro extension tubes… Amazon search results
By Damon Guy (author and Photokonnexion editor)

Damon Guy (Netkonnexion)
See also: Editors ‘Bio’.