
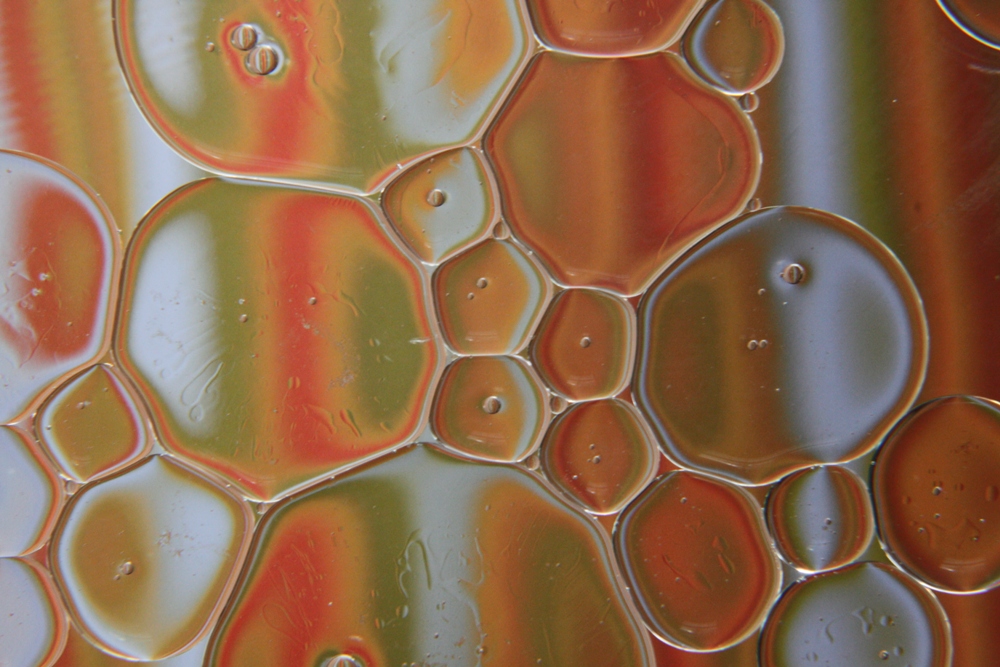
• Oil and water •
These bubbles of oil in water were shot with a
Canon 50 mm f/1.8 and a +10 close-up filter
Click image to view large
Oil and water • by ArchaeoFrog
Easy, budget macro.
Macro or close-up photography is accessible without investing in a pricey macro lens. The first three articles in this series covered techniques for inexpensive macro-level results: close-up lenses, reverse rings, and extension tubes. In this article, I offer suggestions for achieving great-looking results using any of these three techniques.
Choose Your Depth of Field
Depth of field is a term that refers to the area of the image that is acceptably sharp and in focus. Depth of field is a function of many things. Our interest is in three factors. These are aperture, the distance between the camera and the subject, and the orientation of the subject relative to the camera.
Aperture has a direct influence on the depth of field. A wide aperture (smaller f number, such as f/1.8) creates a shallow depth of field. Areas of the image outside of the zone of sharpness fall out of focus quickly. Wide apertures can be used to create bokeh – unsharp sections of the image.
A narrow aperture (larger f number, such as f/22) creates a deep depth of field. The majority of the image is in focus. Narrow apertures are often used by landscape photographers to capture front-to-back sharpness throughout an image.
The distance between the camera and the subject also influences the depth of field. Generally, the closer that you are to your subject, the narrower the depth of the field becomes. This is particularly important when using macro and close-up photography techniques where you need to be physically close to the photographic subject.
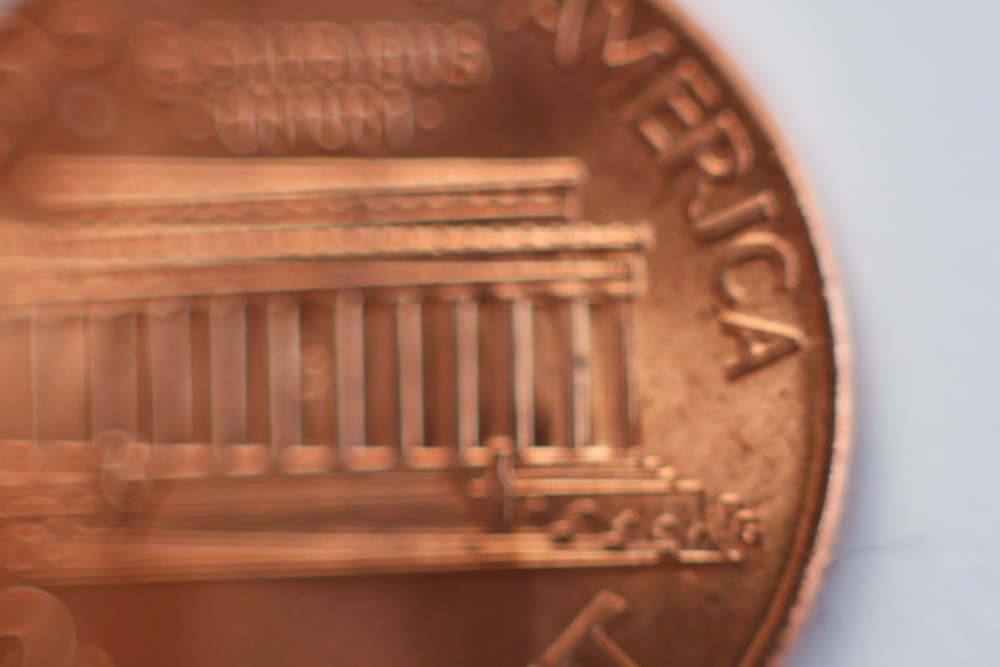
• Bokeh penny •
By ArchaeoFrog
Penny shot with a Canon 50 mm f/1.8 lens and a full set of three, generic extension tubes (7, 14, and 28 mm). The plane of sharpness lies parallel to the flat of the lens. If the plane is not parallel the focus is quickly lost.
Click image to view large
It is also important to consider the orientation of the subject relative to the camera. The depth of field can be thought of as a plane that is parallel to the camera lens. If you can orient yourself so that the subject is parallel to the flat of camera lens, more of your subject will be in focus than if it is at an angle to the camera. In the penny shot above, I tilted the camera lens slightly away from the parallel position. The loss of focus from right to left is obvious.
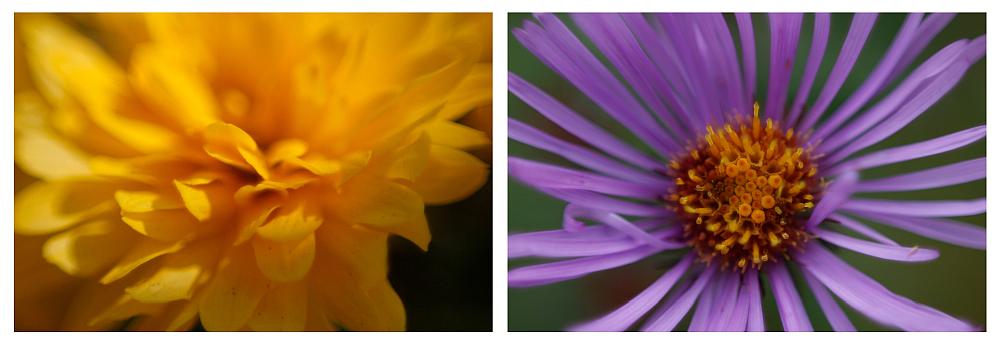
• Flowers and Depth of Focus •
Click image to view large
The flower photographs show how depth of field influences an image. Both were taken with the same lens (Canon 50 mm f/1.8), the same aperture (f/1.8), and the same technique (reverse ring). Both images have a shallow depth of field (wide aperture) and are close to the subject. The appearance of the depth of field is very different. The yellow flower (left) is sideways to the camera. Only the closest edges of the petals are within the depth of field and are in focus. The purple flowers center is shot parallel to the camera. The entire center of the flower is within the depth of field and appears in focus.
If you want more of your subject in focus use a narrower aperture. Increase the distance between yourself and the subject, and set the camera (and thus the depth of field) parallel to the subject. If you want less of your subject in focus, you can use a shallow aperture, get in closer to your subject, and orient the camera and depth of field perpendicular to the subject. Try it many different ways and see what works best for what you envision!
The Tripod: With and Without
It is possible to achieve acceptably sharp macro results hand-holding the camera. The majority of images in these articles were shot hand-held. If you have a stationary subject using a tripod will greatly improve the sharpness of your image. A tripod allows you to use longer shutter speeds. This helps you get crisper images in lower light. It also allows a narrower aperture to gain a deeper depth of field. The steadiness of the tripod will significantly reduce hand movement.
If available, also use the Live-View function on your camera to fine-tune your focus. Live-View lets you use your display screen rather than the viewfinder. Many cameras allow you to zoom in on a portion of the image to check the focus.
Without a tripod a good stance improves stability while hand-holding. Create your own tripod with your body by bracing yourself or your camera. In the diptych image below, I am using my elbows for support. The elbows in combination with my feet create a similar a three-point stability like a tripod. In the extension tube article, I demonstrated a similar human-tripod by bracing my elbows on my knees while shooting.
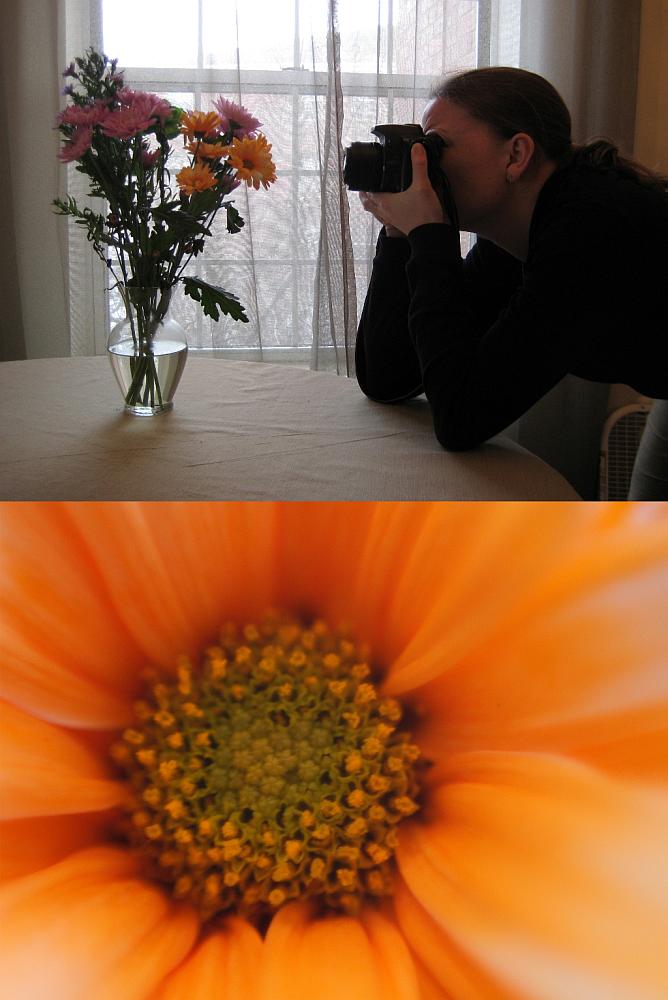
• Simultaneous diptych •
These two images were taken at the same time and show my hand-holding position as well as the image captured. The flower was shot with a reverse-mounted Canon 50 mm f/1.8 lens.
Click image to view large
This three-point position allows me to lean in and out very slightly with the camera. I can manually find the exact focus that I want in the photograph. Focusing with body movement allows me to place the depth of focus exactly where I want it relative to the subject.
More after this…
 Photokonnexion tips by email
Enjoying this article? Please sign up for our
daily email service.
Find out more…
When you are hand-holding practice breathing slowly and pushing the camera shutter button gently, without imparting additional motion to the camera. (More tips on stance)
Play, Combine, and Find What Works for You
You can use extension tubes in combination with either a reverse ring or close-up lens for even more detailed images. However, the working distance between the lens and the subject is narrow and the depth of field is incredibly shallow. With the pennies below, I found it impossible to keep both Mr. Lincoln and the columns of his memorial in focus together, as the columns are slightly raised relative to the surface of the penny.
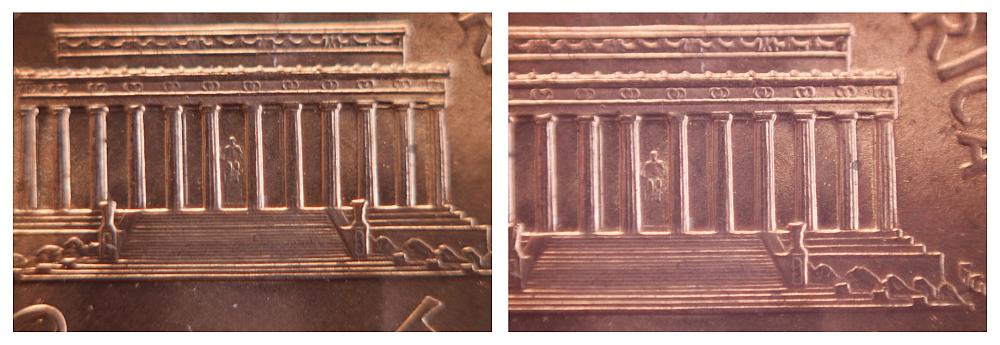
• Penny diptych •
These pennies were both taken with a Canon 50 mm f/.18 lens and a set of three, generic extension tubes (7, 14, and 28mm). In the left-hand image a +10 close-up lens was added, and in the right-hand image the lens was instead reverse mounted.
Click image to view large
Close-up lenses can also be screwed in to each other for greater magnification. I used both a +4 and +10 close-up lens for the snowflake image below. There is some distortion visible in the image particularly around the edges. I also found it more difficult to focus when looking through both lenses.
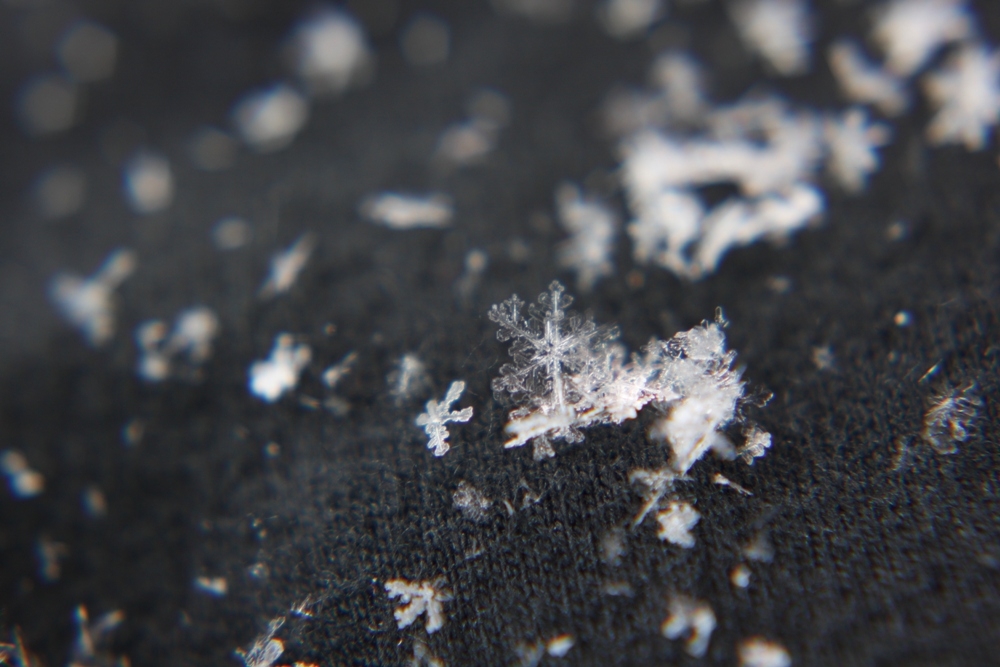
• Macro snowflake • By ArchaeoFrog •
This snowflake was shot with a Canon 50 mm f/1.8 lens
and a +4 and +10 close-up lens.
Click image to view large
The final curtain
The varieties of subjects for macro and close-up photography are endless. I have tried to highlight a variety of them during this series. Flowers, insects, and falling water are perennial favourites, as are coins, Lego figures, and other small objects. Your imagination and creativity are your only limitations. Enjoy!
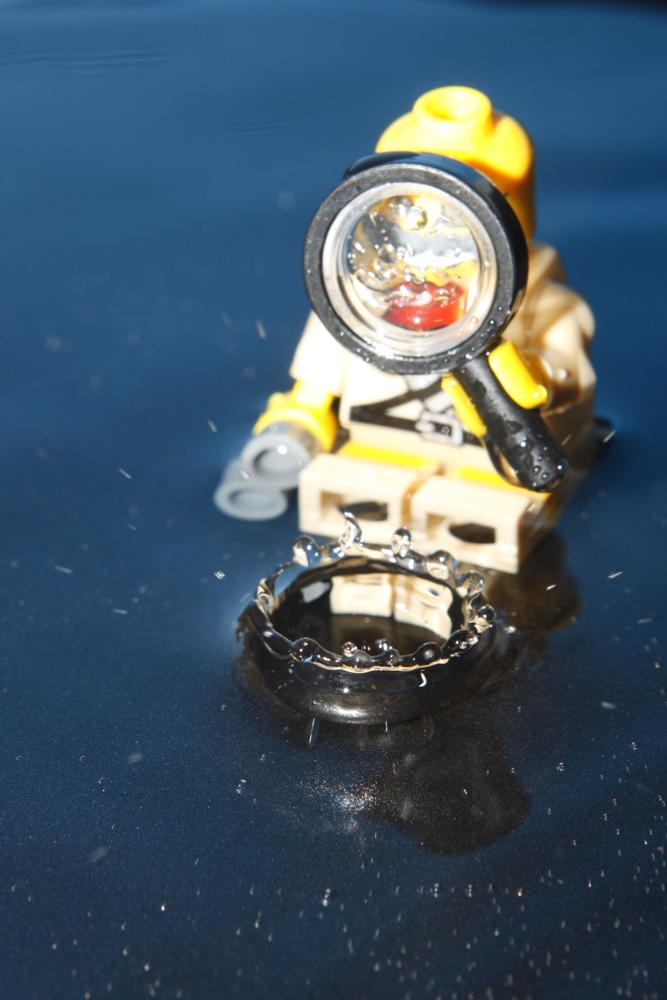
• Lego water crown •
This Lego mini-figure and falling water crown were shot using a
Canon 50 mm f/1.8 lens and a +4 close-up lens.
Click image to view large
Articles on Close-Up and Macro Photography
by Katie McEnaney
Part 1 of this series focused on using close-up lens, Part 2 covered reverse rings, and Part 3 explained extension tubes.
Inexpensive Close-Up Photography – close-up rings
Inexpensive Close-Up Photography – Reverse Rings
Inexpensive Close-Up Photography – Extension Tubes
Inexpensive Close-Up Photography – Tips and Tricks (this article)
Start Photokonnexion email subscription now!
Photokonnexion Photographic Glossary – Definitions and articles.
close-up lenses
reverse rings
extension tubes
Definition: Depth of field
Definition: Aperture
Definition: Bokeh
Definition: Tripod
Definition: Diptych
Simple tips for a good stance

Find out more…
Write for Photokonnexion.

