• Creating Perfect Backgrounds •
Bryan Peterson looks at one of the simplest lessons in outdoor photography – but one that gets effective results.
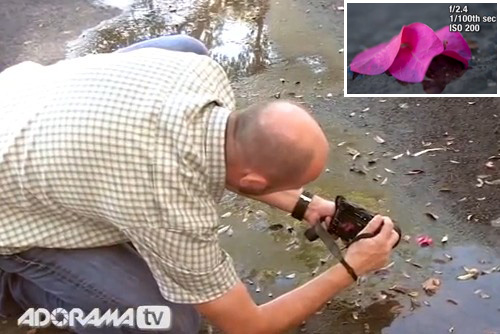
[Image taken from the video]
Perfect backgrounds…
It’s easy to spoil a great subject by picking the wrong background or using one with distractions. Taking the time to look around is worthwhile – then do a background check. Here are some pointers to help.
Great images include great backgrounds
A wonderful subject is not the only thing that makes a successful image. It is the whole image that the eye sees. With a great subject but a distracting background you will lose the viewers eye to the background. Equally if the background is too cluttered it will draw attention away from the subject. Strong contrasts, clashing colours, peculiar events or something ugly in the background all take their toll.
Simplify, simplify, simplify…
Try to find interesting textures, colours and scenes for the background. Keep the contrasts to a minimum. Make sure no one is going to walk into the shot or create another type of distraction. In other words make it as easy as possible for your viewer to concentrate on the subject. It is all about showing off the best – and that is what you want the subject to be.
What to look for at the back of your shot
A certain amount of uniformity helps. If what lies in the back of the shot is too diverse the eye looks to see what the background is all about. Therefore, it becomes a distraction. Then the subject is lost to the eye.
If it is too consistent the same is true. You risk losing the viewer because there is no background interest to off-set your subject. So there is a balanced artistic decision required. But with practice your eye will begin to see when something draws the eye once you become alerted to the impact of the background.
The background check
No, it’s not about identity papers. The background check is all about looking around your viewfinder to see what you think of the back of the scene. When you frame up the shot it is easy to think of the composition and placing the subject in an interesting position. But forgetting to check the quality of the background is fatal. Parked cars, flying balls, litter blowing in the wind – a whole range of distractions – can all suddenly appear. Worse, they can be there all along and you have just not seen them.
The background check is simple. Look around the edge of the frame. Make sure no odd items are sticking into the shot. Look for an interesting texture and colour range. Make the colours complementary and well defined, but not too contrasting. Check to see there are no very bright or dark zones. Brightness drags the eye off the subject. Darkness tones down the interest in the shot.
Clean, tidy and well composed…
When you have checked everything, the back of the shot should be clean, tidy, well composed and not distracting. Then you can do one last quick check on your subject. If all is well press the Definition: Shutter Button. Presto – a great shot.
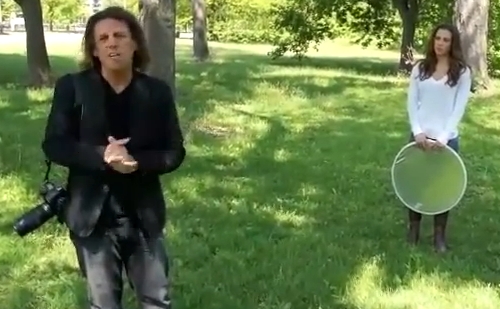
Creating the Perfect Background with Bryan Peterson
By way of example Bryan talks us through a situation in a park where he makes the best of the back of the shot – checking for problems and emphasising his subject.
Adorama Photography TV ![]()
Comments, additions, amendments or ideas on this article? Contact Us
or why not leave a comment at the bottom of the page…
Like this article? Don’t miss the next — sign up for tips by email.
Photokonnexion Photographic Glossary – Definitions and articles.
Examine Shots Before Shooting Again – “Chimping”
More advanced check you can make
The fifteen second landscape appraisal
An old sailors trick to improve your photography
Other links
Background (A Glossary entry)
Shutter Button (A Glossary entry)