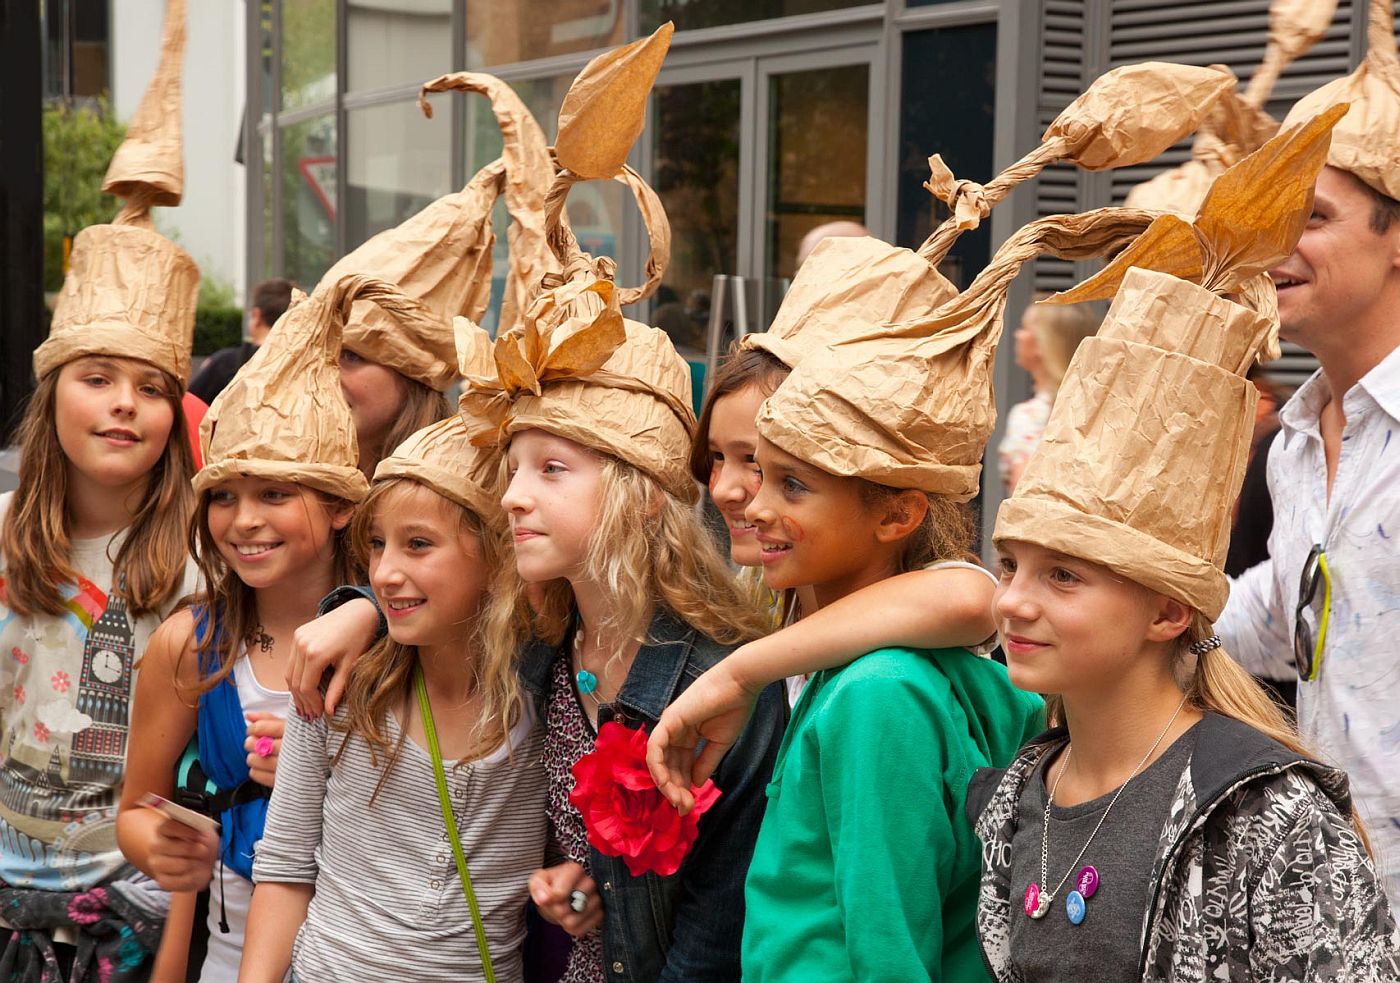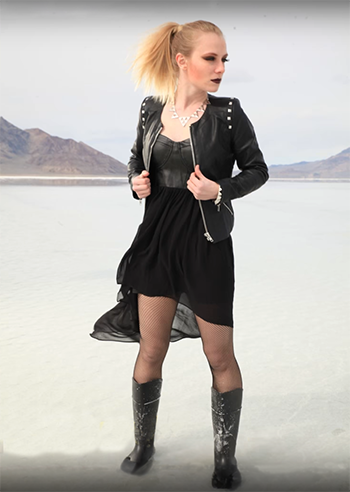
How camera angle affects body shape.
[Image taken from the attached video].
Camera angle affects body shape
How you approach your subject can significantly affect their shape. The camera height affects the relative size of parts of the body. The part of the body nearest to the camera appears largest. So the angle you take to the body can affect emphasis and shape. Your lens can also affect body shape too. These two factors in your shots can really change the view of your subject.
Basic shooting positions that show camera angle affects body shape
- Getting down low gives your subject height and presence.
- At waist level the angle is even across the body placing no strong emphasis on any one part of the body.
- At eye level the head appears more significant and you can really draw out the features of the face, focus on the eyes for best effect.
- From above the head and shoulders are emphasised and the legs are foreshortened.
From these basic positions you can also use different camera lenses. A 50mm lens is the lens that most closely matches the visual abilities of the human eye. Using one of these will help you to see the body as the eye will see it. On the other hand a wide angle lens (around 24mm) will help to bring out the emphasis of the body length. If you use a wide angle lens in portrait view from below you will tend to make your subject look statuesque – tall and grand. If you view the subject from above you will shorten the body and legs and make them look squat. These forms of emphasis have powerful impacts in pictures where you are trying to portray a persons presence. Statuesque tends to convey power and presence. Bodies that appear more compact tend to emphasis a more physical presence.
How camera angle affects the body shape – a video
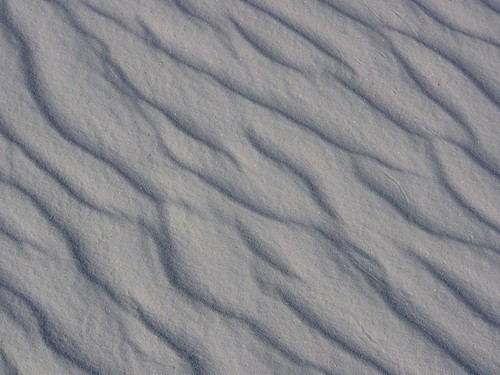
The video brings out in detail the above points. The shoot is on the Bonneville Salt Flats, which is a wonderful location – even if it is flooded! The white of the salt brings out some great high contrast shots. You really can see how camera angle affects body shape.
Start Photokonnexion email subscription now!
Photokonnexion Photographic Glossary – Definitions and articles.
Light and Lighting – Resource pages on Photokonnexion
Portraiture
Tips for doing wide-angle shots
Definition: Wide Angle Lens; Wide-angle lens; Wide angle
Using a wide angle lens
Are your pictures distorted? Considered a 50mm?
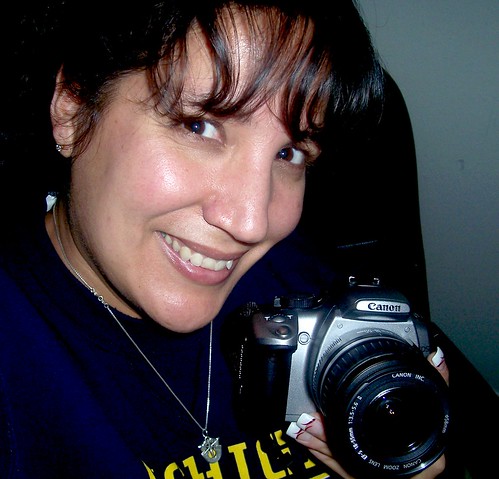
By Damon Guy (author and Photokonnexion editor)

Damon Guy (Netkonnexion)
See also: Editors ‘Bio’.

Find out more…
Write for Photokonnexion.