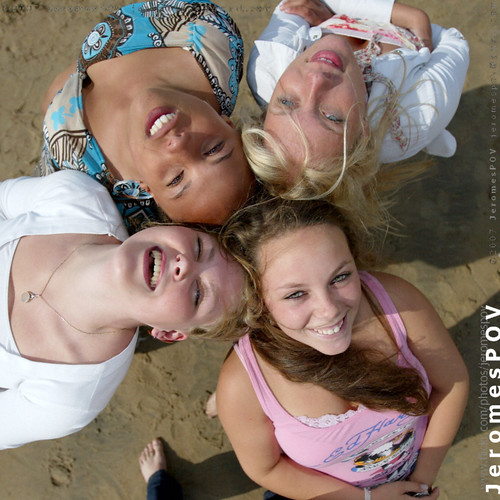
Bloomingdale beach girls put their heads together
Click image to view large
Bloomingdale beach girls put their heads together by JeromesPOV, on Flickr ![]()
Group shots are about togetherness.
It’s important in any picture is to connect subject and viewer. Some pictures are more compelling than others. Here are three powerful ideas for group shots.
Group shots and cohesion
More compelling group shots show cohesion. A happy group of friends shows great cohesion. Much more than people on a street corner waiting to cross. Something in a friend-group holds them together. There are many ways to build cohesion in a group shot. I try to get the group to put their heads together. When people want to bring their heads close, or touching, it shows great intimacy. Cohesion is strong.
There are many ways to show cohesion . Another form of it is arms around each other. You could ask your group to be leaning in the same way. That imparts a powerful group-force. Group hugs are fun! Another idea is to pose arms in a similar way or a direction. You can also use pointing legs.
Commonality in group shots
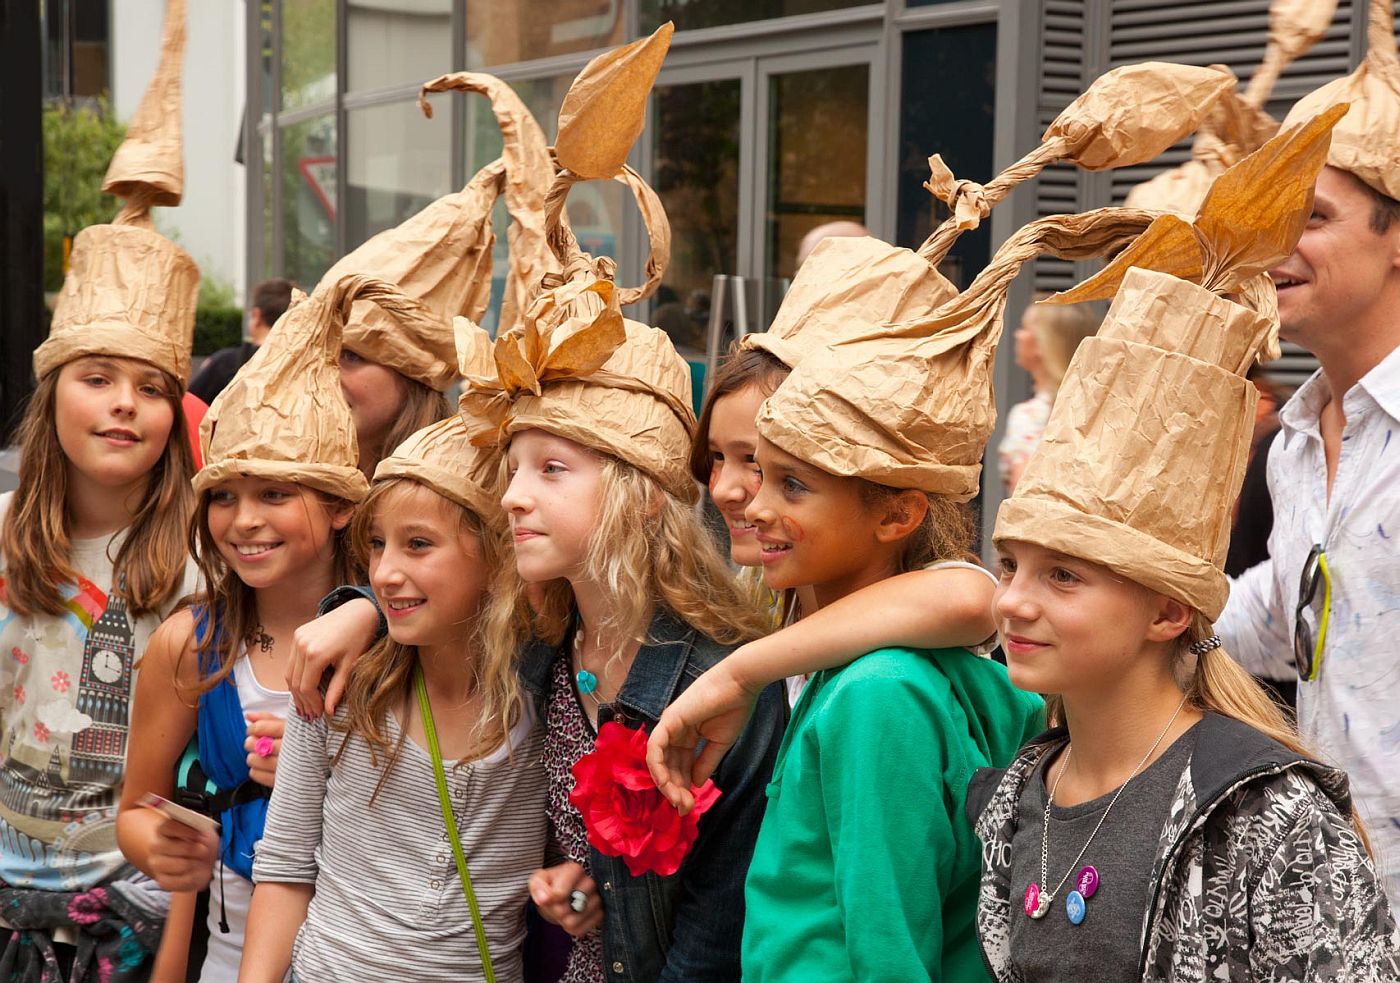
Group shots can hang together well without being intimate. A common theme in the group shows a dynamic togetherness. Colour is a good theme. If I am doing family portraits it is important to capture the faces. Any distraction takes away the family feel. Bring the family group close with similar colours and clothes. That helps prevent distraction from the faces to create togetherness.
Poses of all sorts can help too. When you are all doing the same thing it pulls the group together. The pose does not have to be intimate. It just needs to show a common theme in the pose.
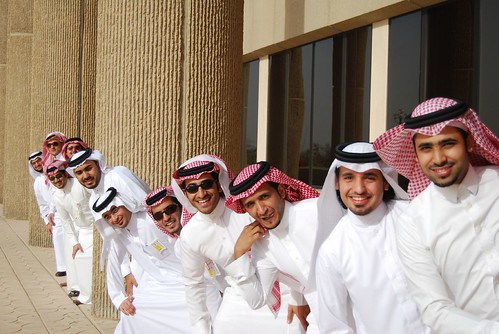
• Saudi Graduates •
Doing something in common like the pose here, or wearing similar clothes helps the group to have a common theme.
Click image to view large
Saudi Graduates by Ben SJ, on Flickr![]()
Framing
A strong element of composition in group portraits is framing. Find a frame to constrain your group shots in small places. It helps them look more cohesive. This is especially if the frame keeps them close together. A great example is wedding photography. Close members of the family pictured between tight columns outside a church is a good way to pull the group together. The columns prevent the eye from straying out sideways. The family hold the eye as a result.
More after this…
 Photokonnexion tips by email
Enjoying this article? Please sign up for our
Tips by email service.
Find out more…
Group intimacy through framing can be shot in trees or other landscape features. If the framing feature is not too strong the group will gain from being close and still be the centre of interest. Using landscape features is great for one-off family shots on holiday.
A traditional form of framing is the use of the vignette. You make a vignette in post production. Use a shadow or white-out technique at the edge of the picture and around the corners. It helps focus the eye gently to the centre of the picture.
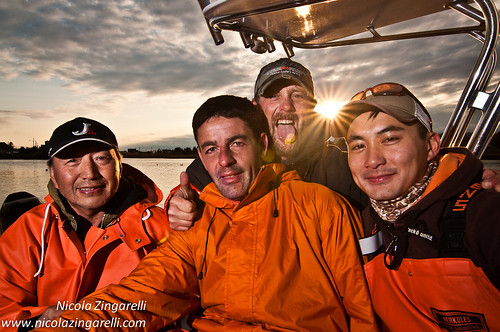
• Fishermen … and friends! •
Small group portrait shot in Green Harbour, Massachussets
This shot pulls it all together. Close head intimacy (right hand three). Togetherness pose (arm positions, smiles/expressions). Commonality in colour/clothes. Common theme – fishing. Framing – the boat roof stops the eye straying upward.
Click image to view large
Fishermen … and friends! Small group portrait shot in Green Harbour, Massachusetts by Nicola Zingarelli, on Flickr ![]()
Getting it all together
There are lots of ways to help make your group shots hang together. Try to add cohesion, commonality and framing to your group shots. You’ll be on the way to a compelling shot.
Start Photokonnexion email subscription now!
Photokonnexion Photographic Glossary – Definitions and articles.
Portraiture – Resources on Photokonnexion.com
Definition: Vignette; Vignetting
post production

Damon Guy (Netkonnexion)
See also: Editors ‘Bio’
By Damon Guy :: Profile on Google+