Tag Archives: Colour

Have you forgotten to account for colour in your shots?

Photographers often forget the importance of colour.

Painters and artists live their artistic lives with colour and ruthlessly use it. Photographers often forget that they can take pictures to emphasize and manipulate the colours they see. Here is an exciting video that opens up some avenues for you to explore in the world of colour.

In a previous post I have pointed out that colour can have specific cultural and social contexts as well as impacting us as biological organisms. Colour has meaning for who we are and it affects our behaviour. Pretty significant stuff! So, it makes sense to have an understanding of the impact colour can have when we take a photograph. Colour is an intimate part of the message we pass when we take a photograph. If you want proof of this then just see how many deep red and orange sunsets adorn photography websites world-wide.

By way of introduction to the video the authors say…

Color is one of the fundamental elements of our existence, and defines our world in such deep ways that its effects are nearly imperceptible. It intersects the worlds of art, psychology, culture, and more, creating meaning and influencing behavior every step of the way. Most fascinating are the choices we make, both subconsciously and consciously, to use color to impact each other and reflect our internal states. Whether in the micro-sense with the choice of an article of clothing, or the macro-sense where cultures on the whole embrace color trends at the scale of decades, color is a signifier of our motives and deepest feelings.
PBSoffbook – Oct 18, 2012 – Published on YouTube

More information on the content of this video can be found here  External link - opens new tab/page.
Produced by Kornhaber Brown  External link - opens new tab/page.


Colour depth and aspect ratio – Simple explanations

Digital cameras have their own screens.

Colour depth and aspect ratio are both important aspects of the final image. The camera screen is not the best place to assess the impact of your shot. Your shot is only a basic representation on the camera screen. You have to judge what a picture looks like before you shoot it. Is it going to be the same after the shot? No, it is a facsimile of the final shot.

The screen on your camera is an indication of what the image will look like. The actual image will probably be processed in an image editor, colour enhanced and possibly cropped. What you see on the camera screen is therefore a basic concept. It’s not an accurate representation. You can find out more about the general issue of screens in… “Of video graphics and cameras”.

Here is a little background to help you understand the idea of colour depth and aspect ratio.

Colour depth

This is the levels of colour that are found in a graphics display. Not just how many possible variations of Red, Green, Blue, (RGB) but also the full range of derivative colours and the tonal variations and brightnesses available. Colour depth involves a huge number of colours – potentially more than sixteen million colours. Not all of these are always represented on the screen on your camera. You should view the camera screen as a less than complete colour range. In addition the image on the screen is compressed to get the picture into a small space. This reduces what can be shown and how detailed it is. So the camera reduces colour and sometimes details. So be wary of what you seen on the screen. Read more about colour depth.

Aspect Ratio

Throughout the history of film, television, graphics and images through the last century aspect ratio has been of importance. The term is used to describe the shape of the screen. Historically a large number of formats for screen shape have been established. Aspect ratio is the subject of a full article in the Photokonnexion Photographic Glossary. The final shape of your picture is related to the aspect ratio of your sensor. Normally that aspect ratio is the same as the screen. However, when looking at your picture in the screen it is worth thinking about your final crop. The crop shape can significantly affect the impact of the shot. So do not rely on the aspect ratio you have been given. When using the screen think about your overall composition in the completed image.

How to take quick and easy photographs of fire

There is something deeply compulsive about fire.

It is almost a primal urge to be fascinated by it. Yes, it is fun to photograph it too. Fire provides all sorts of patterns, colours tones and light intensities. Here are some quick tips and tricks with a method to help you start experimenting with fire.

Three problem with fire…

1. Of course there is an issue with health and safety. Any bare flame is a danger. So try to be very careful to isolate your fire work area so you are not likely to catch anything alight near were you are working. I would advise working outside, or at least on a concrete-floored outhouse so you do not threaten your home, or set off alarms. Do not allow children near you when working with bare flames.

2. The main problem with fire for a photographer is that the fire creates its own brightness. You need to expose your shot for the direct brightness of the flame itself. This will allow the fire to be exposed correctly. However it leaves the surroundings very dark as they are not a light source. So, normally we would not point our camera directly at a light source. Ideally, we need to create a situation where the surrounding of the fire is actually dark, with no detail that we want in the picture. Then we can set our camera to take an exposure using only the brightness of the flame. No additional lighting is needed.

3. Fire spreads! So make sure that you have a fire extinguisher available if you try this exercise. Better safe than sorry.

On with the video

While I am a great believer in using your camera in manual mode most of the time there are ways you can use auto-mode too. In this video watch how he uses the ‘P’ mode (program mode). He takes a few exposures using the program setting so that he can get a reasonable idea of the settings the camera considers appropriate. Then, once the camera has helped him set a base line he can start working with manual to get the exposure he wants.

One other point before we get to the video. It is darkness which makes this shot work. Make the room completely dark while doing the shot. You will notice that the photographer has set up the background with black matte board. It is possible to use other subdued colours. However the black creates a very high contrast which is ideal for shooting a light source like fire.

Enjoy the video…

Video provided by LearnMyShot on Apr 22, 2010 [http://learnmyshot.com] Presented by Robert Grant.

Can you write? Of course you can!
Write for Photokonnexion...

We would love to have your articles or tips posted on our site.
Find out more…
Write for Photokonnexion.

A simple introduction to colour for photographers

Photographers use colour all the time but do they understand it?

Colour can be quite complex. However, there are some simple principles that help you to work with colour. Like other compositional elements colour can change your picture in many ways. If you use it you can enhance your picture. If you are not aware of its significance you can spoil the impact of the picture.

These two videos provide introductory principles as an insight into understanding how colours work together and their effects within the image.

Colour in photography – The colour wheel explained
http://www.imagemaven.com

Complementary Colours in Photography
http://www.lourceyphoto.com

Simple ways to create photographic abstracts

Photographic abstracts

• Photographic abstract •
See the world a different way by looking for non-representational images to make.

The key to photographic abstracts is observation

The material for photographic abstracts is in the world all around us. With a little practice it is easy to see them. Your view will unfold with a through looking at the component parts of things.

Abstracts can be almost anything. Most often they are the properties, attributes or component parts of something else. Where we see the whole of something – the abstract is found in the parts. Where we see a car, the abstract is found in the pattern of rust. Where we see a fence, the abstract is found in the texture of the wood. It may be found in the pattern of the fence too. The photographic abstracts shows the essence of something. It’s not always the whole of it. Or, it might be the whole of something, but a part of something else wider, larger, or more inclusive. In the reality of abstraction we are looking for something that is not necessarily the actual picture shown. Most often that means making an image that does not represent something. These non-representational images bring out form, shape, colour, hue, light, shadow – almost any attributes of the world of imagery. But, this is the point, the image tends not to be about what is represented, but what is the experience of the image itself.

photographic abstracts bring out things that are found in patterns, colours, shape form, lines, angles. These and other things contribute to the essence of a thing. The inner beauty of something is often not in seeing the whole, but appreciating its parts. And, it is also about knowing that the whole is more than the sum of the parts. Photographic abstracts show that extra view.

Training your eye to see photographic abstracts in the world around you takes time. Once you start looking for non-representational imagery you will find them quickly and everywhere. Look out for the experience of what you see in the textures and forms, colours and hues – do not look to show a straight forward subject.

Insight into photographic abstracts

If all that sounds difficult then you need to give your eye some experience. Examine some of the abstracts available online. Here are some links to look at photographic abstracts…

Simple ways to produce abstracts

To get into making successful abstract images you need to make a simple start. The complexity of many images can easily confuse the eye. So to get started, open your eyes to the simple things you see.

Take a bicycle. Complex in its whole, but photograph just the shadow from the back wheel on a sunny evening. A whole new world of angles, light and tone is revealed. The subject may be clear – it may not. The point I am making is, the interest lies in the result of the wheel creating a shadow. The power of the image is not in the bicycle itself, but the impact of its relationship between the sun and the actual structure. Check out these examples for some insight Bicycle wheel shadow images on Google | External link - opens new tab/page.

The key word I just used is “relationship”. Often abstracts explore relationships. A non-representational image is about understanding the relationship of the parts to the whole. That, and expressing the feeling that it imparts to the viewer. The power of an abstract is to connect to the emotions of the viewer and provide something deeply appealing, but which examines the relationships of the parts. Producing an abstract is about finding ways to explore the relationships of the parts in ways that are not a plain, representation of the subject.

So, try looking for ways to show the subject of your interest without showing the subject itself. Try some of these ways of looking…

  • Looking for a part shot of the whole.
  • Show it as a shadow.
  • Light it in a unique way.
  • Explore only parts of the subject.
  • Show the shape or form, but do not show the whole.
  • Look at the graduation of colour, shadow or light.
  • Go really close – just for a part.
  • Show the image in part through something else.
  • Show something that looks like something else.
  • Explore the texture of your subject.
  • Spotlighting just a part of your subject.
  • What is the relationship between tone and colour?
  • Show one thing in relation to another – an unusual pairing

You can probably think of many more approaches to making an image. To get your creative juices flowing take a few days to review other peoples ideas about abstracts. Look through some of the example links I have given here.

As you can see some of the ideas in the list above are starting to get more complex. Explore with simplicity first. Then later explore more complex mixtures of ideas about your subject.

Trying to show the essence of something needs thinking about in new ways. Look at this list of the Elements of Art

  • Form
  • Line
  • Colour
  • Space
  • Texture
  • Light value (lightness/darkness)
  • Shape

Each of these attributes of your subject can reveal new insights. Try exploring only one or two of these at a time. This will reduce the complexity of your approach. Your image will reveal a great deal about your subject but from a new, simple perspective. Describe your subject using the simplest possible elements of what you can see in it. Then you will have picked out a true abstract.

Finding out more about photographic abstracts

Abstracts fascinate photographers. The idea of expressing something without actually showing it in its complete form is really satisfying. Abstracts allow you to express yourself and say something new about your subject that no-one else has ever said. Abstract photography is one of the few ways you can really get a deep insight into your subject yourself, at the same time give a deep insight to your viewer. It gives you a license to express yourself more than almost all other aspects of photography.

If you want to find out more about the subject there are few good books on the market. One of the real insights into this subject is The Edge of Vision: The Rise of Abstraction in Photography. It is a really interesting book, with historical insights and well positioned photographic insights too.

I recommend this book to help you get a feel for the subject of photographic abstracts. As a photographer you will enjoy the pictures as well as the understanding you will gain by reading it. For me it helped an understanding of the context of photographic abstracts in popular art culture. But it also released me from it. In modern terms abstracts are an open subject. Today photographers have largely escaped the cultural context and are free to use the techniques without the strong cultural constraints of the past. So read the book and get into the ideas. Use it to expand your horizons.

Comments, additions, amendments or ideas on this article?
Contact Us or leave a comment at the bottom of the page…

Like this article? Don’t miss the next — sign up for tips by email.

Damon Guy - Netkonnexion

Damon Guy (Netkonnexion)

Damon is a writer-photographer and editor of this site. He has run some major websites, a computing department and a digital image library. He started out as a trained teacher and now runs training for digital photogs.
See also: Editors ‘Bio’.
By Damon Guy see his profile on Google+.

Seven examples of abstract photography

Abstract photography taps into something deep in us.

It reveals elements of a subject rather than the whole subject. Abstracts examine the mystery of a subject though the parts we normally ignore in favour of the whole. It is this that makes an abstract unique.

In Definition: Abstract Photography we examined what makes an abstract. In the article Abstract Photography we examined abstracts in photographic terms and how to take abstract photographs. We looked carefully at the sort of properties or attributes of a subject to consider when taking abstract shots. In this post we are going to see some examples.

How to look at an abstract

The concept of an abstract is about the elemental make-up, the properties and attributes, of a subject. Often when we see something we tend to regard is as a whole. Abstracts explore the components that make the whole. We consider those in their own right rather than as their contribution to the whole. To appreciate an abstract try not to second-guess its part in the whole. Appreciate it for what it is – a thing which has its own properties, attributes and aesthetics.

Seven examples of abstracts


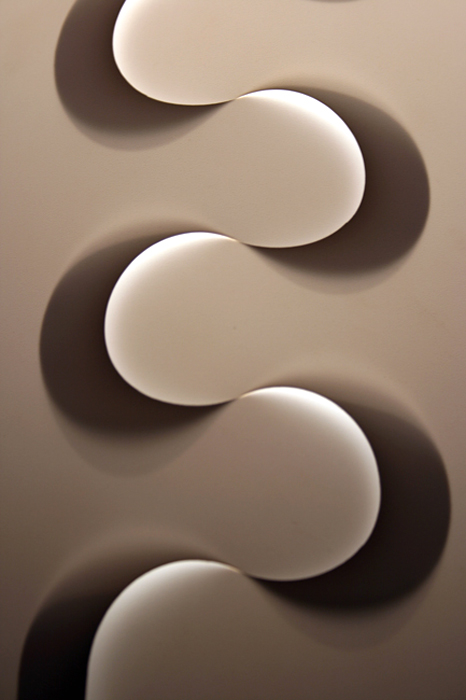
Light-Shadow

Light-Shadow By ~LuceAnima

On Deviant Art


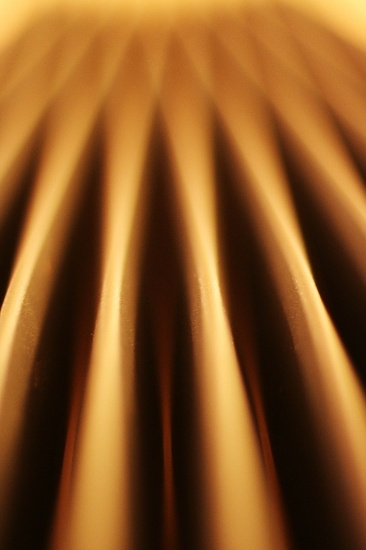
Golden Fins By Richard Homer

Golden Fins By Richard Homer


Abstract Photography

Abstract Photography
By d o l f i
http://www.flickr.com/photos/kelehen/5285763767/


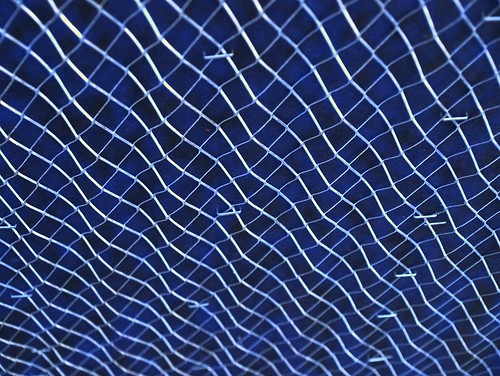
 Abstract  No shape change.

Abstract – No shape change. By Tanakawho


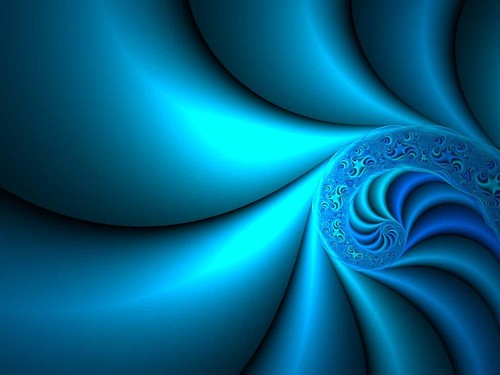
Abstract-blue-sono2531a

Abstract-blue-sono2531a – By Ara_gon
On Flickr… http://www.flickr.com/photos/ara_gon/4035403/


Abstract in black, blue and white

Abstract in black, blue and white by Xollob58
On Flickr… http://www.flickr.com/photos/xollob58/3049040298/


abstract mini

Abstract mini – By Ary Snyder
On Flickr… http://www.flickr.com/photos/arysnyder/4178120542/

Further exploration by links…

Abstracts on Flickr…  External link - opens new tab/page
Abstracts on Deviant Art External link - opens new tab/page
Abstracts on 500px External link - opens new tab/page
Abstracts on 365Project… External link - opens new tab/page

How to photograph bubbles from the side – water photography

Bubbles are fun to photograph and there is infinite variation

Bubbles photography is fun with infinite variation – plenty of scope for creativity.

Water and its properties are endlessly fascinating.

It is quite easy to get started with water projects. Some simple household items are all that’s needed. In this tutorial we will look at how to create bubble shots like the image shown.

What you need

All you need are some simple items. A square, clear-glass container is the most important, for holding the water. Some people use a small fish tank. I used a square glass vase. It helps to have a flat side – the focus is easier. However, with some experiments you can make most glass items work. The other items are:

  • A thin flexible tube for blowing the bubbles (1 meter).
  • Food colouring.
  • Some dish washing detergent.
  • A clothes peg (clothes pin).
  • A sheet of white card, paper, or a white wall.
  • One bright lamp.
  • A tripod or firm platform to place your camera.
How its done

We are aiming to create some pretty surface bubbles. So fill the container to about half full with fresh tap water. Then…

  1. Add a few drops (3 or 4) of food colouring of your colour choice.
  2. Place the container on a table so you can photograph through it.
  3. Behind the container place the card to provide a solid white surface as a backdrop for the shot. You will need a gap between the water container and card of about 500mm to a meter (18inches to a yard).
  4. Place the lamp to the side, but pointing at the white backdrop, between the container and the backdrop itself. The idea is to create a bright background for the shot. The card acts as a white reflector to create a high key effect.
  5. Place the tube in the water and push it to the bottom of the container. Fix it to the side of the container with the clothes peg so it stays in place.
  6. Now, add the drops of detergent. Too much and the bubbles will fill the container. Too little and they will not form. So you may need to experiment. You create the bubbles by blowing down the tube. As air passes up through the water it creates the bubbles.
  7. Position your camera on the tripod, pointing at the flat side of the container. Blow some bubbles. Focus the camera and take a test shot. View the shot. Your focus is critical. If you focus too far into the container you will get a lot of bubbles. So try to focus just on the bubbles on the side of the glass. It is best to work with only a few bubbles rather than a lot. So try with less detergent if you find you have too many.
  8. Adjust the settings to get the light right. Use the flash on your camera if you need to make the shot brighter. However, make sure the lamp behind the container makes the backdrop very bright white too. Getting a bright backdrop is more important than the flash from the front. In fact if you use the flash it may need to be turned to minimum power. Read your manual to find out how.
  9. I shoot with full manual settings. So it is easy for me to adjust the brightness of the shot for the background. You can work with the aperture at something like: f5.6 or f4.0. This prevents the back of the container coming into the focus. However, it does give a frosted effect in the water as the container is out of focus inside. A shallow depth of field makes the foreground focused in the shot. Then the bubbles against the glass come out well. If you can arrange the bubbles so they are at the front against the glass and not at the back you can use a deeper depth of field. In this case apertures of up to f22 will work. You get more clarity in the shot and more of a glow from the water. However, you may need to clone droplets and marks off the glass in post processing – from the front and back of the container.
  10. Shooting with a longer exposure will help your background brightness if your lamp is dim, but try out different lighting and shutter speeds to get it right.
  11. Experiment! The key to all water shots is trying out lots of different things. Different depths of water, different containers, various amounts of liquid detergent, different light levels… all can be varied.
Things to watch out for…

Splashes! The water from the bubbles splash onto the side of the container leaving droplets and these get into the shot. I keep a small cloth to wipe them off after blowing the bubbles, but before I take a shot.

Too much detergent can be a problem, you really do need only a tiny amount. Very few bubbles look better in the shot than thousands. I have found that the shot is improved if you wait for the bubbles to subside a bit after your blowing. Then take the shot.

You want the background to look very bright to give the water a glow. So concentrate light on the white background to bring up the brightness from behind.

You will probably want to take a picture of the whole width of the container. However, in post processing you will probably not keep it all. Be prepared to crop the shot down to the better looking bubbles like I have above.

You do not need to use a macro lens although that can produce great results too. The shot above was taken at around 80mm focal length. It was not a macro shot.

I find that variation in bubble sizes gives more interest. So I have tried to make the bubbles uneven in their shape and size. This helps balance the shot.

You can try out different colour backdrops. I have found that using a gel to colour the light works well. Make sure the light is projected onto the background and does not change the water colour. In the shot above the background is white. In that picture I replaced white with the colour variations above the green water later in post processing.

As a bonus, you can also take pictures of the bubbles rising in the container. To do this blow and shoot at the same time. Make sure you have lots of light from behind and a fast shutter speed to freeze the action. Here is an image showing the water movement from the bubbles.

The bubbles and water movement can be great fun too.

The bubbles and water movement can be great fun too. This image shows the water exploding above the surface when the air is blown through the tube.