Tag Archives: Portrait

Portrait context is about the artist as well as the subject

Portrait context is important in photography

• Portrait context is important in photography •
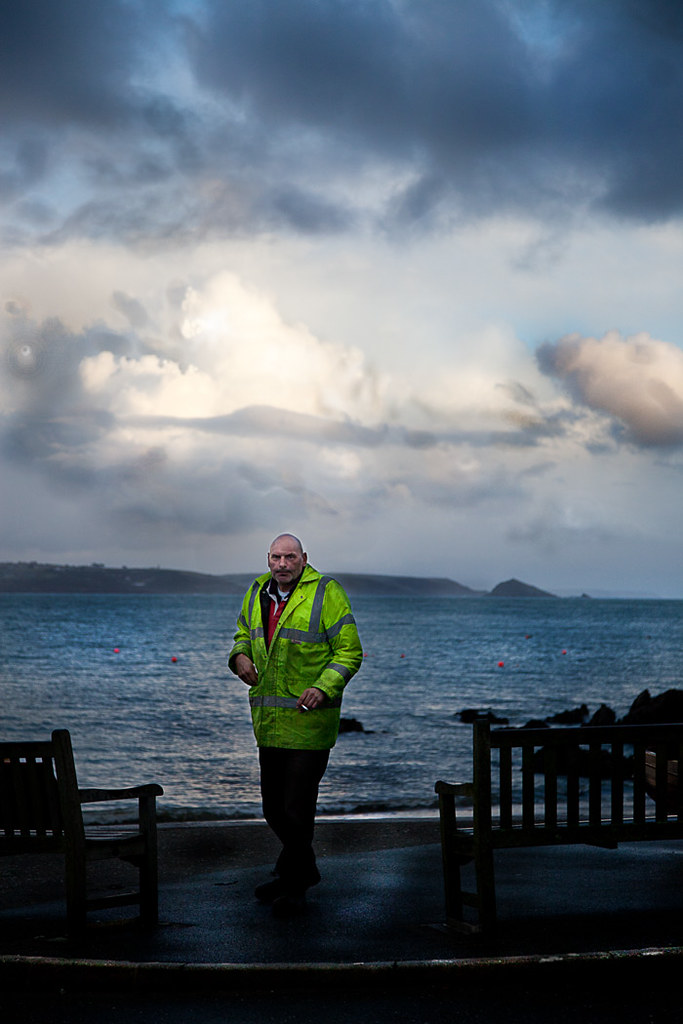
[Image taken from the video].

Art in a portrait…

…includes much more than meets the eye. Photographers taking their first steps with portraits often see only the person in front of them. But the portrait context also includes the scene, the artist and their culture.

Portrait context – a historical boundary

Portrait art historically reflected the fashions and ideas of the time. For example early civilisations tended to depict people in profile. These flat two dimensional portraits were a mark of early Egyptian art. Much later, in the 14th century, the Renaissance masters did portraits as a three dimensional rendering on the canvas. They used artistic tools the Egyptians did not have.

Today the portrait context is still related to the knowledge and experience of the artist. And, they are partly bound by the conventions of their time, culture and so on. You can never fully be divorced from your context. But, we are free to take a wider, more context-free view of portraits. Artists and photographers are trained to take a broad, imaginative outlook. Art and photography schools give the imaginative freedom of students a wide scope. Breaking the bounds of traditional portraiture is a part of that freedom.

Breaking the bounds of portrait context takes careful thought

Portraiture starters often only see their subject through “everyday” eyes. Most of us are not trained in the ways of imaginative scene setting. So we tend to take portraits that represent our every day view of people. There is nothing wrong with that. Family, friends and others make a fun photograph. The images can be pleasing and satisfying.

Great portraiture goes deeper than that day-to-day view. To push the boundaries of your portraits, think in a different way. The portrait photog should consider their own vision and experience. They also need to think of the environment, cultural context, story and location of the shot. The photographer should understand who they are as well as knowing something of the portrait subject.

Of course knowing these things does not produce a great image. What makes a great portrait is pre-vision. It is how you bring out something in the subject, the scene or the portrait context that is remarkable. This takes a unique perspective.

The art of portrait photography

A strong portrait steps out of the everyday view. In the video we get the perspective of a number of portrait photogs. Each has looked into the portrait context in which they are working. With forethought and insight they have constructed artful portraits. They have also made driven and powerful images of their subjects. Each has a clear understanding of the portrait context. Each has a clear view of what they want to say.

The lesson is, look for a point to make. Understand both what you are working with and what you are working to express.
PBSoffbook  External link - opens new tab/page

Comments, additions, amendments or ideas on this article? Contact Us
or why not leave a comment at the bottom of the page…

Like this article? Don’t miss the next — sign up for tips by email.

Damon Guy - Netkonnexion

Damon Guy (Netkonnexion)

Damon is a writer-photographer and editor of this site. He has also run some major websites, a computing department and a digital image library. He started out as a trained teacher and now runs training for digital photogs.
See also: Editors ‘Bio’.
By Damon Guy see his profile on Google+.

A simple way to bring out your subject in environmental portraits

• Early morning worker • Bring out your subject in environmental portraits.

• Early morning worker •
Click image to view large
• Early morning worker • By Netkonnexion on Flickr External link - opens new tab/page :: Environmental portraits
A great way to show off your subject is to find a way to make them brighter than the background. This projects them right out into the viewers eye. Environmental portraits are particularly good subjects for this technique.

Subjects should come first.

Every photograph should have a subject, but sometimes they get lost in the overall picture. If that happens you lose the viewers eye. Make the subject stand right out. In environmental portraits, one of the best ways to do that is to bring out your subject. Find a way of making them brighter than the background.

Environmental portraits

Most people shots, whether street photography, simple portraits, or even an event shot benefit from emphasis. There are lots of forms of emphasis. Here are a few examples…

  • High contrast
  • Big colour variations
  • Placement in the frame
  • Perspective…

Probably one of the most effective forms of emphasis in environmental portraits is subject highlighting. Environmental portraits are where a person is captured in the context of their environment. You can see them as they are in that environment. This helps you see into the person and their character.

If you can use highlighting your emphasis has two impacts. First, it provides an immediate draw for the eye. This is because the eye is drawn to the brightest spots in a picture. Secondly, the scene takes on more depth because of the impact. The very fact that the background is more subdued helps the eye to perceive the depth. The highlight creates a wider contrast between the darkest and lightest parts of the picture. In environmental portraits this has a profound effect on the eye.

How?

During the middle of the day the ambient light is very bright. You have to take care when highlighting to prevent blown out areas or over-exposure. There is one way to do it. Pick out your subject as the focus. Then turn down your exposure to slightly underexpose your background. Then use a manually set flash to illuminate the foreground subject. You will see the background as darker from the slight under-exposure. The subject will be properly exposed by the flash. Be careful not to have your flash too powerful. It will over expose the foreground and leave the background too dark. You might need to practice your technique.

In the photograph above I was lucky enough to capture the subject in bright clothes. The incidental light that did most of the work for me. A little brightening in my post-processing helped bring out the details. The emphasis of the light made the foreground object (the man) stand out. Often, what makes environmental portraits powerful is the understated background lighting.

In environmental portraits, bringing out the subject with highlighting is about taking advantage of natural lighting. Nearly every situation has local lighting variations. So if you take the time to look around your location and find light/shadow situations you are sure to find some place where the natural highlighting will give you an advantage. Most of the time it is down to becoming aware of the light and shade relationships.

Two lessons

What we should be doing when the light is right is highlighting the subject. It gives the picture impact and depth. When doing environmental portraits you will always have local light variations. Take advantage of them where you can. If you need to, use a little flash to emphasis the subject and make them stand out.

Comments, additions, amendments or ideas on this article? Contact Us
or why not leave a comment at the bottom of the page…

find out more...Photokonnexion tips by email
If you enjoyed this article please sign up for our
Tips by email service.
                                                 Find out more

Damon Guy - Netkonnexion

Damon Guy (Netkonnexion)

Damon is a writer-photographer and editor of this site. He has run some major websites, a computing department and a digital image library. He started out as a trained teacher and now runs training for digital photogs.
See also: Editors ‘Bio’.
By Damon Guy see his profile on Google+.

A simple introduction to backlight

• Introduction to backlight •

• Introduction to backlight •
Various images showing backlight scenarios in the studio and outside.
Images from various artists – displayed on Google Images.

Backlight is a versatile light with great potential.

The term backlight refers to the use of a light which is projected from the back of the scene/studio onto the subject from behind. The camera is placed facing the subject. It captures the effect of the light as a highlighted rim or halo around the back edges of the subject.

The use of a backlight creates very distinct effects. The most important is the rim light around the edges of the subject. This highlighting effectively isolates the subject from the background. So it is a useful technique when the subject and background share similar colours or tones. The rim effect around the edges of the subject is especially useful for bringing out highlights and style in hair. Sometimes it is also used to imply purity or goodness after the manner of a religious halo.

Backlight can be produced either with artificial light, natural light or a combination. The sun is normally the most important light for back lighting and so in cases where sunlight is strong artificial light is often used to bring the foreground or the subjects front side out of shadow. This is fill light and provides sufficient light for a good shot of the subject without blowing out the effects of the back light.

In photographic scenes the backlight is often used to create an emphasis on the three dimensionality of the subject. Lights coming directly from the position of the camera tend to make a subject look flat because all the shadows are removed. Backlight has the opposite effect. The light halo effect at the back of the subject emphasises the depth of the subject. It can also be used to emphasis depth in the picture. By strongly highlighting the back of the subject the distance to the scenery behind the subject is revealed giving the image some depth.

Setting up an effective backlight requires some care. If the source of the light shines directly into the camera lens it will blow out and create a strong distraction for the picture viewer. Also a strong backlight can make the front side of the subject look very dark or even silhouetted. To prevent this it is normal practice to use a front light as well so the subject is bright enough to capture. Setting up a good backlight often requires getting the foreground light correct first, then putting in the backlight at around 2 to 3 stops brighter to create the emphasis.

The angle at which a backlight hits the subject can be critical. If the backlight is directly toward the camera the subject can be strongly blown out by and direct light passing around the subject. Normally backlight is applied at an angle. That way the lighting will provide a little texture on the subject and not be directed into the camera lens. It can also be used to more effectively show fashion elements like hair styles by picking out highlights, curls etc.

“Backlight” should not be confused with background lighting. The latter is where a light is used to light the background, the scenery or backdrop. Background lighting typically faces away from the camera. Backlights face toward the camera.

Backlights are used in such a large variety of ways that some practice and experimentation is needed to be able to work out the best way to use them. However, because of the intensity of the light from the back the foreground lighting is often important too. It is not unusual for multiple artificial lights to be needed in order to get the best out of backlights and to keep the balance of lighting good all around the subject.

Examples of “Studio backlighting” on Google  External link - opens new tab/page
Examples of general “backlight photography” on Google  External link - opens new tab/page

Backlight techniques are very important in photography as they have so many effective outcomes. It is certainly worth practising with your lights or even natural light to try out some of the effects.

By Damon Guy (author and Photokonnexion editor)

Damon Guy - Netkonnexion

Damon Guy (Netkonnexion)

Damon is a writer-photog and editor of this site. He has run some major websites, a computing department and a digital image library. He started out as a trained teacher and now runs training for digital photographers.
See also: Editors ‘Bio’.

Contribute A Definition?

Send us a definition of a photographic word or phrase...

Send us a definition for our list of photographic words and phrases. Simply write a clear definition and send it in. Include an original picture if you wish. Give us your name and a link to your website and we will credit your work.

Simple portrait lighting for anyone to try (pt.2)

Video

Video from the “Slanted Lens”

Making a portrait is a process.

A great portrait says something about the subject. It will capture something of the essence of the person in the shot. Achieve that level of artistry and you will have arisen above the technical process. However, if you cannot do the basic photographic capture well, all the artistry in the world will not save your shot.

In Simple portrait lighting for anyone to try (pt.1) I looked at the background layout for the one light set up in portraiture and explained the components involved. Today we will see a video for the same set up so you can put into context my diagram from yesterday.

The Basics of a One Light Setup: A Lighting Tutorial

TheSlantedLens

By Damon Guy (author and Photokonnexion editor)

Damon Guy - Netkonnexion

Damon Guy (Netkonnexion)

Damon is a writer-photog and editor of this site. He has run some major websites, a computing department and a digital image library. He started out as a trained teacher and now runs training for digital photographers.
See also: Editors ‘Bio’.

Can you write? Of course you can!
Write for Photokonnexion...

We would love to have your articles or tips posted on our site.
Find out more…
Write for Photokonnexion.

A little known idea that will help your photography every day

Learning photography is about understanding light.

There is a ready source of learning about light you see every day. Photographs and television provide valuable lessons in light. You can learn a lot by observing how light is used in different productions. Look for the way light is cast, which direction it comes from, its colour and it’s intensity. Also look for the way it is used to create mood and atmosphere – these often show off how shadows and hard light or soft light are used. Good producers of still photography, television and film are masters of creating scenes with and manipulating light. Looking carefully at the light itself in such productions will provide great insights for your own photography.

[More about eyes: The Eyes Have It… nine ways to emphasize eyes]

Portrait Reverse Engineering – It’s In The Eyes

In the video we see one aspect of how to see the light. I have written about catchlights before. They are the bright spots in peoples eyes that are reflections of the nearby lights. In this video an examination of catchlights is used to understand the nature of the light used in the portrait session. This is a clever and interesting way to understand portrait lighting. It is also something of a study in television too. Directors use lights to create catchlights for nearly all close shots. So watch out for them as you watch television.

The Michael Andrew Photography School External link - opens new tab/page

By Damon Guy (author and Photokonnexion editor)

Damon Guy - Netkonnexion

Damon Guy (Netkonnexion)

Damon is a writer-photog and editor of this site. He has run some major websites, a computing department and a digital image library. He started out as a trained teacher and now runs training for digital photographers.
See also: Editors ‘Bio’.

Three quick tips for photographing people at work for your employer

When you photograph people at work context is all important.

When you photograph people at work context is all important.

Photographers often have to photograph people at work.

It is easy to forget who you are photographing. Although these people may be your friends, you still need to put them into context. Work is not just about friendship, it is about production.

Why?

If you are asked to do photos at work you should know why it is being done. The most important thing, as with all photographs, is planning ahead. That means discussing with your employer what is expected of you. If you know that and you get your actions approved you should have fun doing the shot and make a great job of it. After all, it is about doing a good job right?

1. Portraits

Make sure the picture conveys the meaning you have been asked to fulfil. Often employers just want portrait shots so customers know who they are dealing with. If that is the case then you need to consider clothing, poses and backgrounds that are appropriate for your subjects. Plan the shots beforehand and approach your employer to see if your plan is appropriate before the shoot.

2. Context

If the photo is a record shot of the work situation, make sure you take the shot in the context of their work. The appropriate apparatus and background is important. In the work photo above the two girls served coffee in the front-of-house operation. A teamwork photo (heads together conveys closeness and camaraderie) was appropriate. Work with the people you are photographing to make sure you are portraying their true location and work situation.

3. Location

In a very diverse working environment a group shot might be more appropriate than individual shots. Make sure you work with your employer to find the best place to take the shot. Employers usually have very clear ideas about what they want to show their customers. It is important to get the final situation right. Your photograph will be saying a lot to its audience. A shot in the most presentable place in the factory is better than outside the toilets in a neglected yard! Use common sense to assess the location. Make it both relevant and appropriate. Make suggestions to help the composition, but make sure your employer is happy before doing the final shots.

An extra one for luck

If you are doing people-shots use a tripod. It is essential to make your shots sharp. Tripods will help you do that more than anything else.

By Damon Guy (author and Photokonnexion editor)

Damon Guy - Netkonnexion

Damon Guy (Netkonnexion)

Damon is a writer-photog and editor of this site. He has run some major websites, a computing department and a digital image library. He started out as a trained teacher and now runs training for digital photographers.
See also: Editors ‘Bio’.

Can you write? Of course you can!
Write for Photokonnexion...

We would love to have your articles or tips posted on our site.
Find out more…
Write for Photokonnexion.

The art of posing for the camera

Looking at you looking at me and being comfortable.

Photographers may be comfortable with taking a portrait. I know from experience that our subjects are often very uncomfortable. Some insights may help us put our subjects at ease.

As a photographer you should be running the portrait session. It is good form to help the subject feel, not only at ease, but looking good. Many photographers forget that the subject often does not know how to look good. So you can do two things about that…
1. direct your subject to act in ways you think they look good.
2. give them a quick lesson in looking good.

Both can work. Direction works best with experienced sitters and models. They often settle down once they see the way the session is going to pan out.

Directing an uncomfortable and reluctant sitter may not work well with someone who has no posing experience. I’ve found that if you do a portrait session where you are directing the reluctant sitter, they often look more uncomfortable and wooden. In this latter situation you have the option of going through a series of practice exercises to see how they feel and what looks good. The video below takes a bit of both approaches. It is worth viewing to get some insights and ideas.

Some other considerations

I think it depends on who you have sitting for you. I prefer to work with the person. Get to know them a bit and build a rapport. That does often settle your subject down. However, some people never feel comfortable in front of the camera. So, after the jump are some hints to help them out…

Tell them you need to take a few test shots, “just sit there for a minute while I get everything set up”… then get chatting to them. Make them laugh if you can. Get a few shots in. Spend two or three minutes doing this. Get as many shots off as you can. Show and share them so the sitter sees what they look like relaxed. This helps them settle down for ‘the’ shots. Actually, you have probably got the best shots already! Yup! This is portrait photogs psycology at work.

Some people really relax if they have a familiar object. Get them to bring a favorite item. A guitar, roller skates, a hat, whatever. Get them to show it off while you chat and shoot.

Getting someone to do something silly sometimes helps. Just afterwards they have a happy demeanour and a more relaxed pose. So click away during the silly bit, but catch the best shots afterwards. This works well especially with families. The parents go with it to get the children going. But children rarely need help once started. In fact you are settling down the wooden poses of the adults!

Actually…

There is no one way to run a portrait session. You, the photographer, have to suck it and see. Sometimes what you do works first time. Often you have to try things out as you go through the session. Flexibility, experience, and trying out a few of the techniques above may all come into play. Try a few things and see how you get on. The more experience you get the easier it will be to work with your subject. Have fun!

By Damon Guy (author and Photokonnexion editor)

Damon Guy - Netkonnexion

Damon Guy (Netkonnexion)

Damon is a writer-photog and editor of this site. He has run some major websites, a computing department and a digital image library. He started out as a trained teacher and now runs training for digital photographers.
See also: Editors ‘Bio’.