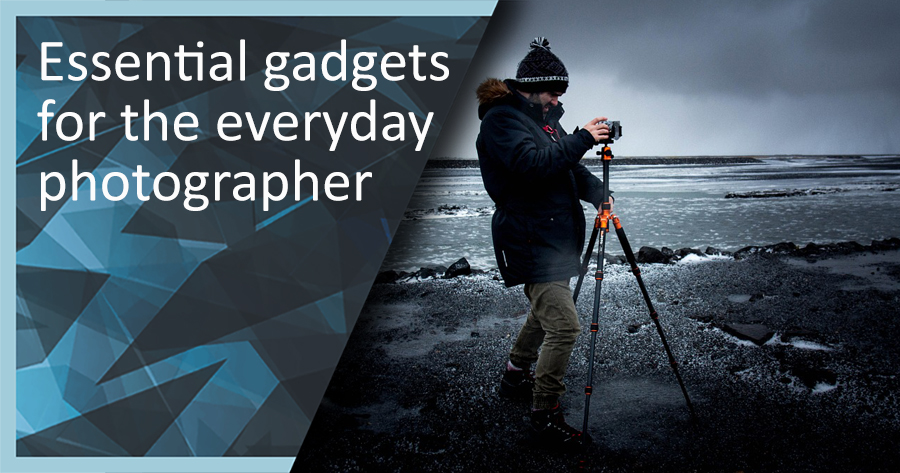
A look at some essential gadgets for the photog…
Today’s article comes from: Jane Grates (Bio) from Sleeklens.com.
It is essential, and fun, to keep up-to-date with the latest trends. Gadgets occupy an important niche in our world of photography. In this article I look at the essential gadgets that are must-haves for the serious photographer.
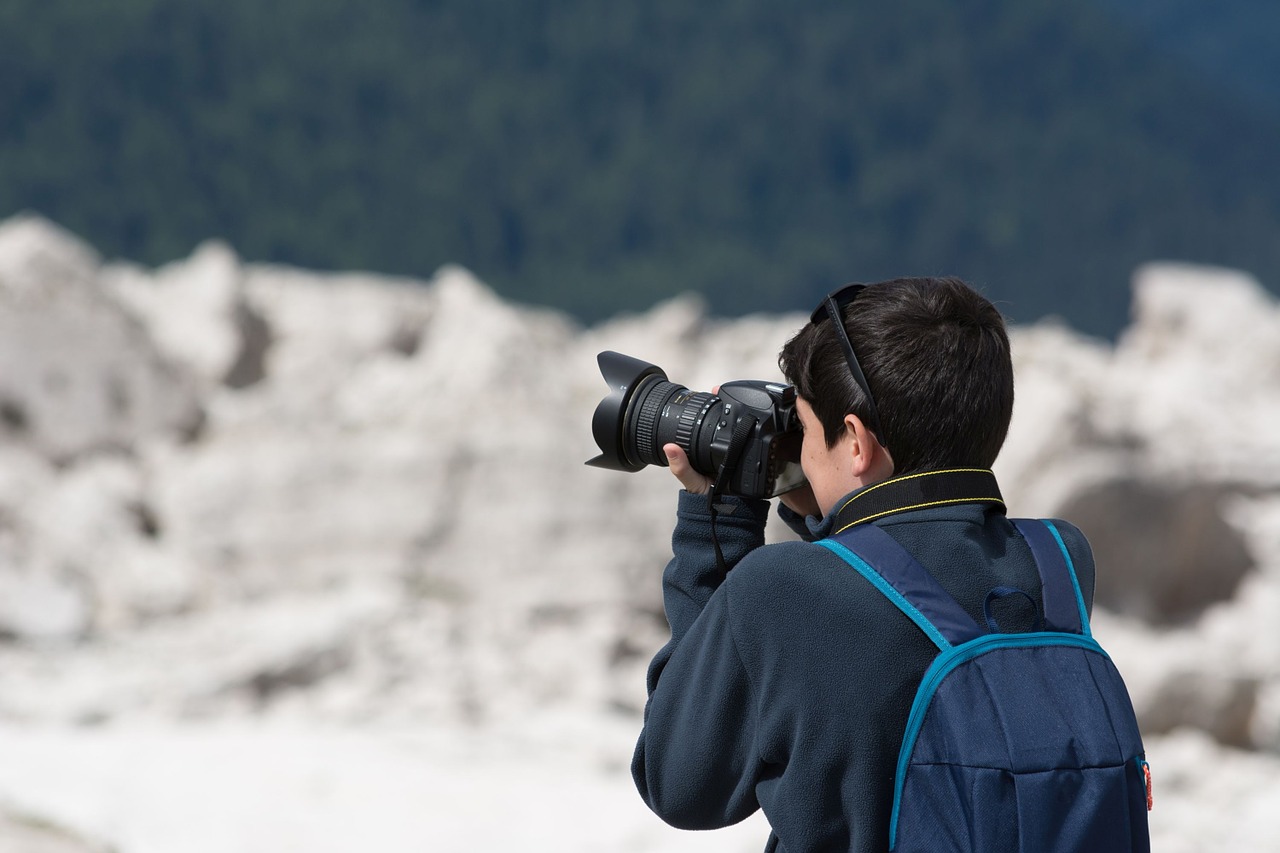
Look out for those essential gadgets…
SD Card holder
First, the basics. Lots of hardware to improve your performance as a photographer is wasted if you do not have enough space to store pictures. The storage issue can become a nuisance. Beat the problem and have many SD cards in order to prevent lack of drive space. This is particularly important for photographers who travel a lot.
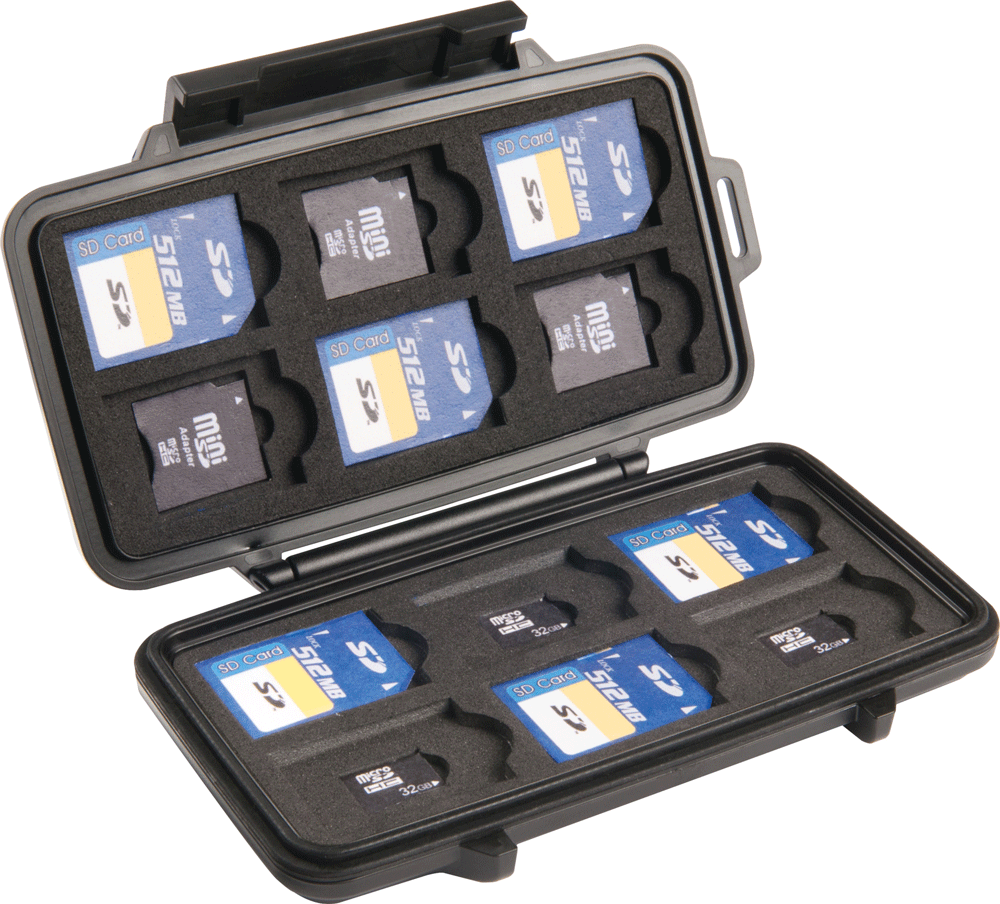
Essential gadgets – The SD card holder.
Buying an SD card holder is a smart solution to the space problem. You can split your work over different SD cards to create a well organized library. Not only are you placing your work in a safe place, you are creating smart categories too.
A Tripod
A classic, the tripod is vital when dealing with heavy lenses or long exposure times. Night time photography is almost impossible without a tripod. The longer exposures are needed to capture low light levels.
A quality tripod is one of those essential gadgets we should all have. Look for one that suits the needs of your photo interests and for height and transportability. Higher quality tripods tend to be heavier, but this means they are less likely to blow over or vibrate in windy conditions.
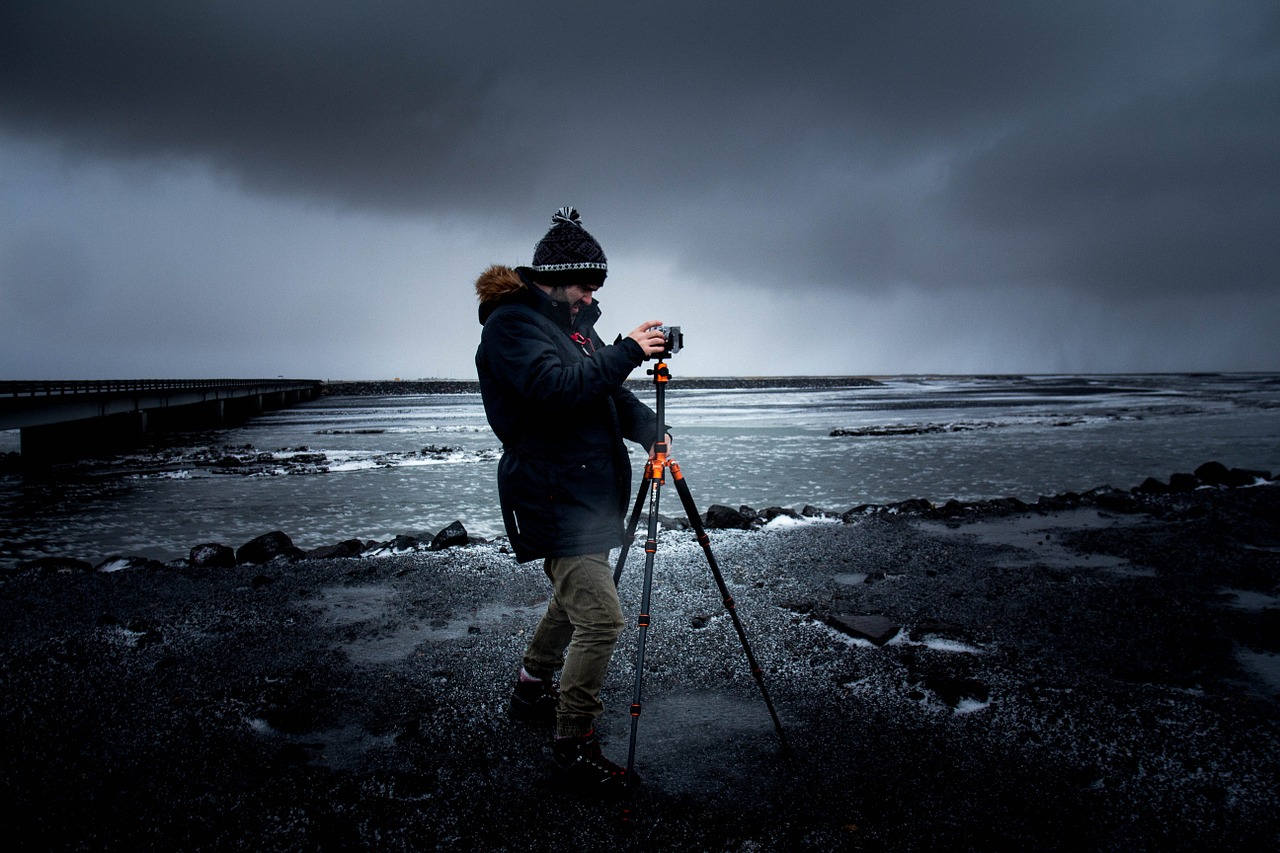
A quality tripod is one of those essential gadgets we should all have.
Think how you will use your tripod. This will determine the price range. If you do your work mainly in a studio, or you are just starting your business, you can buy a simple model. If, on the other hand, you are a skilled photographer, you will want to buy a pricier, more adaptable one to last longer and endure the diverse conditions you may come across.
Lens Filters
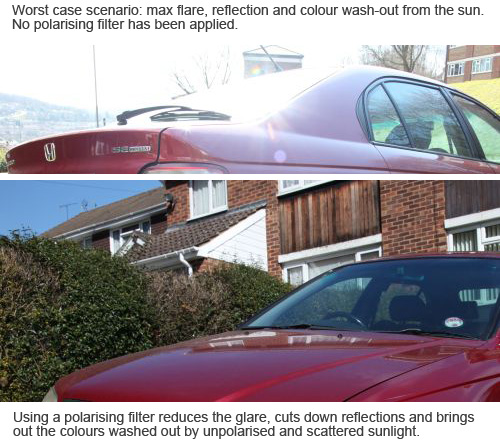
You can create “filter effects” with post-production ‘presets’ in editing software. But you can skip a step by using on-camera filters. This will save incredible amounts of time in processing. Filters can help you avoid burned out images from strong sun if you use Polarized filters. The camera lens will react the way your eyes do when you use polarized sunglasses.

Polarising filters help you deal with strong sunlight – one of the more essential gadgets.
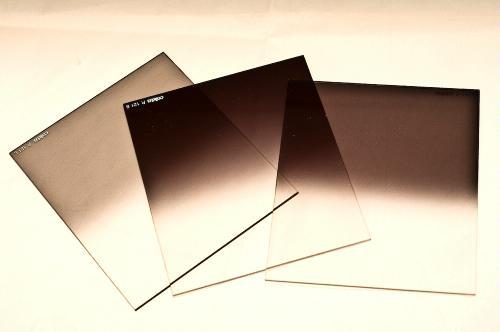
Remember to buy a lens filter that fits your lens size. There are companion gadgets for filters. Step-up/down rings serve to create a perfect fit on lenses with non-standard formats or sizes. The latter are commonly seen on bridge cameras.
Remote shutter release
For long exposure times, or for portrait pictures including the photographer in the scene, remote shutter devices are handy tools. Simply grab your remote shutter release, place your camera on the tripod and let the action flow.
Remote shutter release – one of the essential gadgets.
You can choose a remote shutter release from wired or wireless devices. I recommend buying a wired model, at times interference can be frustrating. Although, there are some very good models on the market recently. It is worth
Another remote shutter choice is a phone app. Not all camera models are supported. Some Canon and Nikon models are compatible with this feature. The apps are cheap, or free, saving some of your money. In fairness the latest remote shutters are not really expensive. Still, having a phone app will certainly guarantee that you won’t forget your remote shutter release wherever you go!
Weather cases
A common problem, as a photographer, is the sudden appearance of bad weather. It’s not good for using your camera! Don’t risk the investment you made in quality kit. Consider carrying a weather-safe case that fits your camera model, lenses and other accessories. Not only are you going to protect your beloved camera, but you can continue your shoot regardless of the conditions.
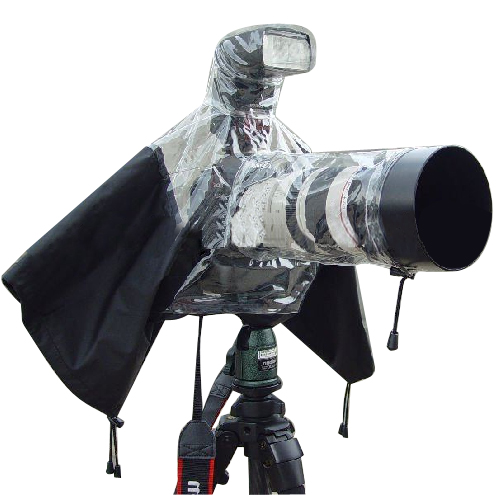
Protect your beloved camera from bad weather – use a camera case.
Weather sealed cameras can benefit from this protection too. Water seals deteriorate over time. Other attached accessories are not all water proof as well. Don’t risk your device without even thinking about it.
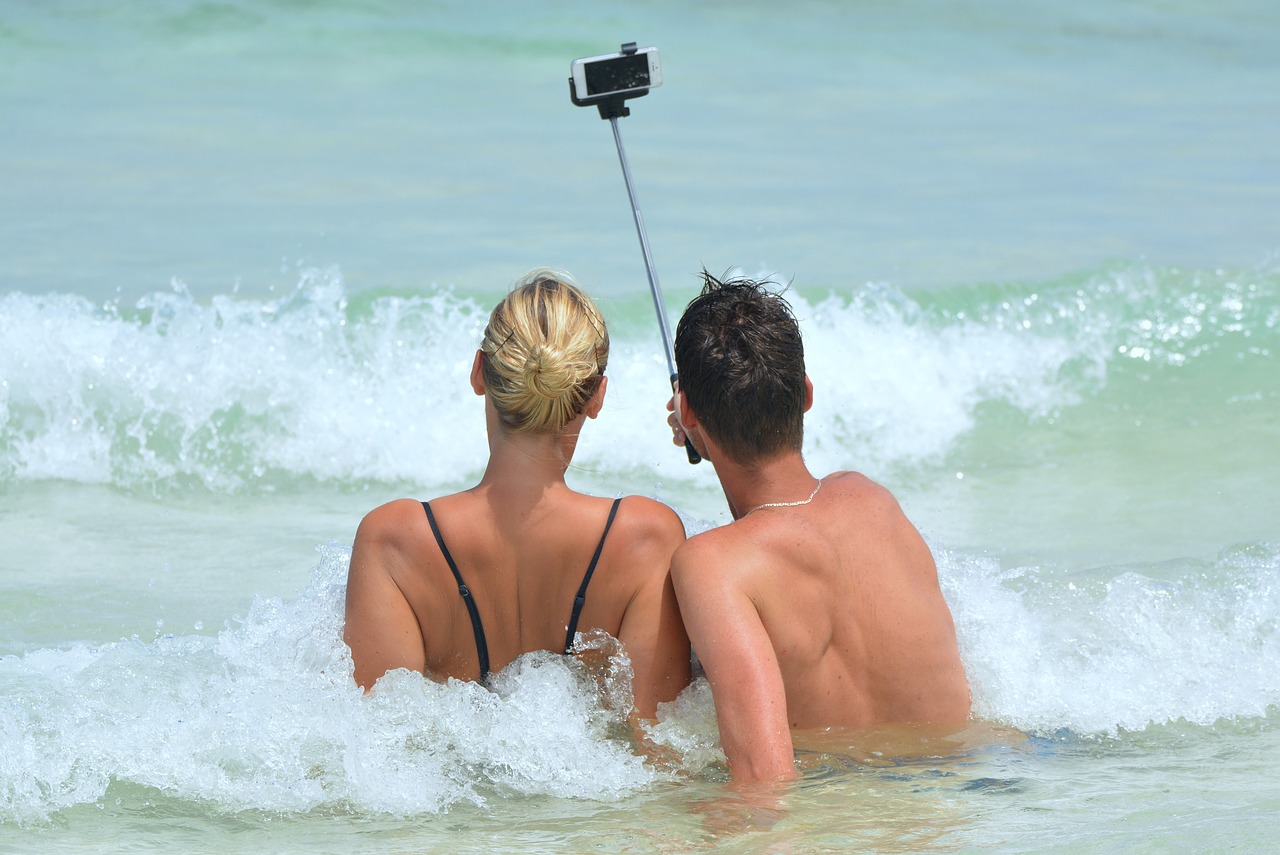
Smart phone lenses
If you are a photographer on the go, you probably own a smartphone. Up to date models have a good camera. It can be a limitless source of creativity. However, smartphones are limited compared to modern DSLR cameras. They rarely have full and true manual controls. They lack the proper control of ISO, Aperture and Shutter speed settings.

Smartphone add-on lenses open a new dimension for the photographer on the go.
A cool way to fix this issue is smartphone lenses. They come in a wide range of prices and with various features. Common base models of add-on smartphone lenses can do things that smartphone camera lenses can’t do. For example, fish-eye effect, macro or telephoto and other effects. More complex models, like the latest Sony QX-10, completely reinvents the smartphone lens concept. It boosts the smartphone with a professional quality sensor packed with manual controls. Even if it seems to be pricey, the result won’t disappoint.
Remember, the smartphone is a useful addition to the camera bag in its own right. Check out this post: Using tablets in photography.
Essential gadgets – more than just the camera… Photographer’s backpack
Like the tripod, photographers backpacks are a common classic. They provide storage for the camera, different lenses, as well as leaving room for other important items. Some are also designed to carry laptops, batteries, and much more. Avoid back packs that are not designed for photography. They can cause equipment damage. Specially designed packs let you carry equipment safely and help you pack efficiently.

Buy a good quality photographers bag to protect your equipment.
Consider buying a weatherproof backpack regardless of price. Protecting your working equipment is a top priority. Photographic equipment is highly sensitive to poor climate conditions. Most good quality packs come with slip-over water protection.
Also, be aware of the maximum weight supported by the backpack. Don’t over load it (or you). Avoid misuse, which will shorten the life expectancy of the product. Protect it from wear, chemicals and dust.
Essential gadgets are those that suit your needs
You can find countless options for complimenting your photography and workflow. Most will depend on the kinds of photography you decide to focus on. In the end, it is up to you to find the best equipment that will enhance your day-to-day photography. Everyone has their own special “essential gadgets”… What are yours?
Feed your imagination…
Here are some more essential gadgets for photographers on Amazon.
Check out this Google search on essential gadgets for photographers!
Comments, additions, amendments or ideas on this article? Contact Us
or why not leave a comment at the bottom of the page…
Like this article? Don’t miss the next — sign up for tips by email.
Photokonnexion Photographic Glossary – Definitions and articles.
Tripod
Polarized filters
Bridge cameras – definition
Shutter release – definition
ISO – Definition
Aperture – Definition
Shutter speed – definition
Using tablets in photography.
Check out this Google search on essential gadgets for photographers!
 Photokonnexion tips by email
If you enjoyed this article please sign up for our
daily email service.
Find out more…