
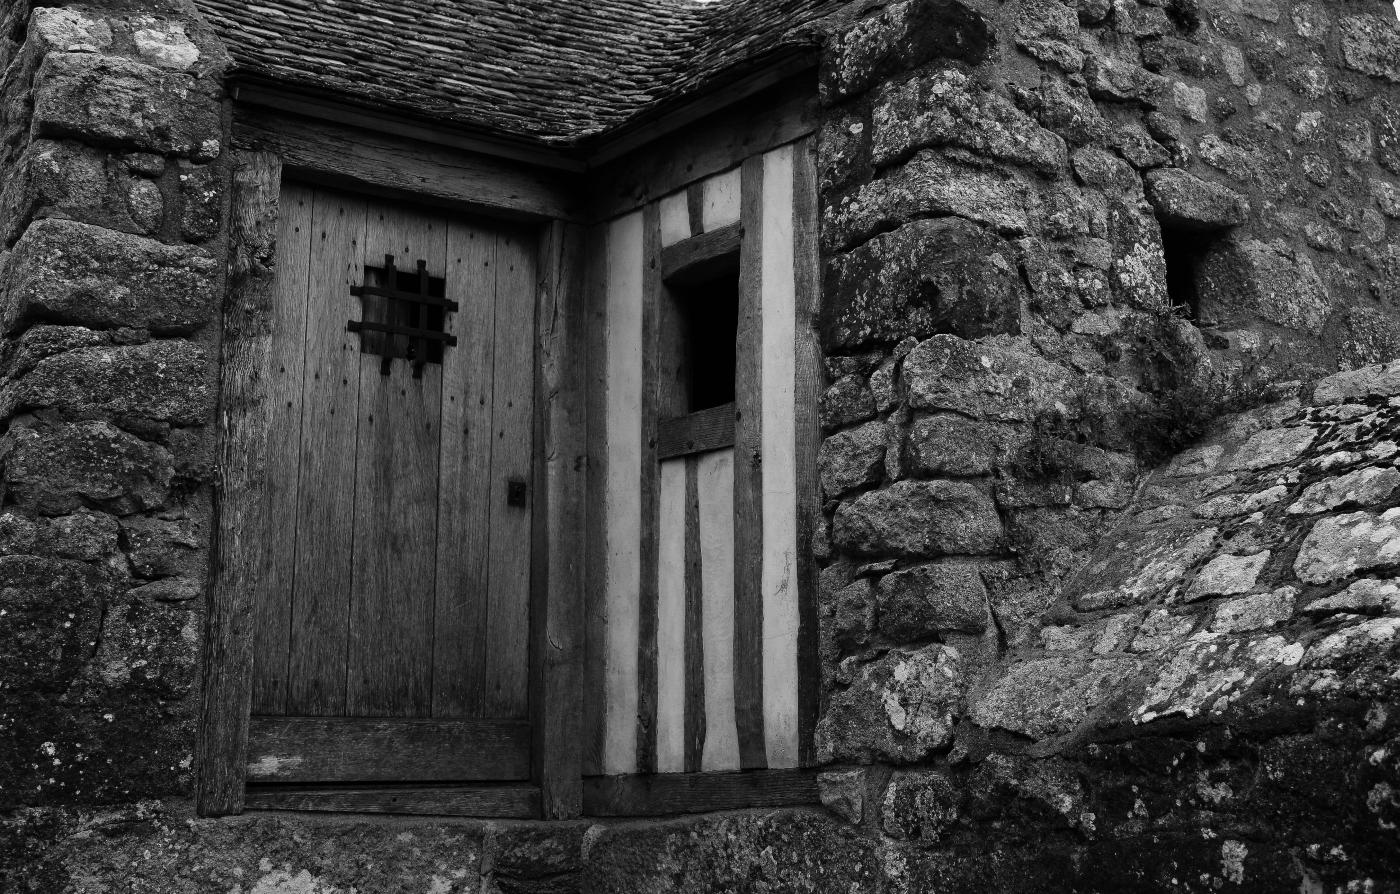
• Medieval Prison •
A dismal dungeon! Bring out the texture in your shots.
Click image to view large
• Medieval Prison • By Netkonnexion on Flickr ![]()
Texture is essential for a 3D effect.
If you want a realistic feel you need to work at it. Convincing texture lies in the fine detail – your picture must look like it feels. Here are eight things you can do to increase the texture from capture to printing…
What is texture?
Texture is the fine detail in your photograph. I am sure you would know what it feels like to run your finger over the surface of a brick. If a photograph of a brick convinces you that touching the photograph would feel like a brick, your depiction of texture has been successful. The term texture is a fine art concept which applies to photography [texture definition].
More after this…
 Get Photokonnexion tips by email!
We send you tips daily – find out more…
Start email subscription now!
Eight ways to enhance texture
- Pick your subject to ensure it will show texture. Close ups are easiest as you can work large. If you are with a large subject like a person and want to show fine texture on the background you should ensure the background surface you pick is well defined. Look for the largest contrast in shades of colour and in light/dark. Look for shadow areas and bright areas. Make sure that the physical texture (roughness) is roughest where you will be taking the shot. These are the features of texture the camera will pick up.
- Hard light on your texture will give it a sharp, unyielding feel, a sandpaper type effect. Soft light will give it a rounded less harsh look, more like weathered stone surfaces. Arrange your light to emphasis the character of the texture you are photographing.
- When taking your photograph arrange the light coming at your texture from the side. A shallow angle of light creates light/shadow areas which define the texture. When these little contrasts can be seen they make the texture stand out. If light comes from where you are shooting from these shadows are not created and the texture will be flat (eg. pop-up flash or sun from behind you).
- Consider very slightly over-exposing your shot. This will give you room to exaggerate the contrast in the post processing.
- In the developing module of your processing (RAW only) use the contrast tool to maximise the contrast potential in your texture. If working in *.jpg enhance the contrast in the normal picture editing view.
- Consider making your picture a grey-scale shot in post processing. If possible do not do a direct colour to black & white conversion. Use colour control methods to enhance the contrasts in each colour. You will need a more advanced image editing application for this (PhotoShop, or Elements for example).
- Use the ‘burn’ in post processing to deepen the dark areas of the shot. Set it to emphasis shadow. Manually pick out the shadow/darker areas and give them a very slight darkening. Try working at about 10% (or less) ‘burn’ exposure. Similarly, use the ‘dodge’ tool to brighten the highlights. Set the tool to pick out highlights at about 8%-18% exposure.
- When printing use paper that has a texture appropriate to the texture you want to bring out. You will need to print a test print. Then hold the test texture up against several paper surfaces to compare the textures. Paper with softer, uneven texture will take the edge off textures in the print. Harder textures with more regular surface will tend to sharpen the depicted texture. However, the eye must be your final guide. There is great skill involved in picking the right paper texture for specific pictures when printing. So you might need to make several tests with different paper textures to get the most emphasis for your texture.
Enhancing the contrast between light and dark or between colours will emphasis texture, but the most effective impact will be what you achieve in the actual shot. Try to ensure you use the light to gain the best advantage from your texture as you do the shooting. It will look more realistic and you will have to spend less time at the computer.
Start Photokonnexion email subscription now!
Photokonnexion Photographic Glossary – Definitions and articles.
Light and Lighting – Resource pages on Photokonnexion
texture definition
Hard light
Soft light
highlights
By Damon Guy (author and Photokonnexion editor)

Damon Guy (Netkonnexion)
See also: Editors ‘Bio’.

Find out more…
Write for Photokonnexion.