An opportunity to do abstract photography
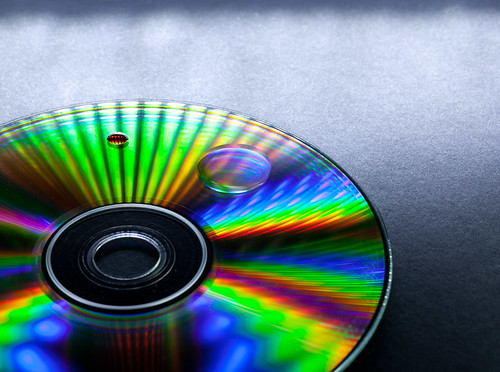
The back side of a CD has wonderful light properties. View it from an angle towards a bright light. You will see great reflections. CDs provide flashes of multi-coloured light. The image above shows a range of different types of light on this CD. They each cause different types of reflection. In this tutorial I am going to show you how to get some interesting abstract light shots using a CD.
What you need
To do light abstracts you need…
- A clean, unscratched CD or DVD (disposable in case you damage it)
- A light source
- White tissue paper
- white and black cardboard
- Various liquids
- Camera
- Tripod
- Lens of your choice
- Macro lens (optional)
- A darkened room
The aim
My aim of was to get some abstract light shots with great colours. All abstracts are something of a personal taste. To get what you like will take some experimentation. However, it is also about making the best use of your materials. I am going to get you started. From there try out a few ideas of your own.
The camera set up
Still life is best done working toward high quality. I recommend you use a tripod. Hand-held shots get poor results in low light. You need low light for your beams of light. I use a darkened room for this exercise.
I normally work in manual mode for best control. I decided the shot should be sharp all the way through so used f16. ISO 100 will yield a good quality leaving me free to vary the shutter speed. By checking the camera light meter in the view finder I found with ISO 100 and F16 the exposure needed a half second exposure with the light I was using.
The table top set up
I tend to use sheets of white, black or coloured cardboard as a base. The photograph above used black card. It is almost textureless and light works well upon it. I propped black cardboard sheets as backdrops, reflectors or light dampeners. I am sure you can be inventive.
The light
I purchased a multi-point LED light source for this shoot. It’s an LED camping torch with a handy hook and magnets on the back. A very successful purchase – I bought a second one so I have two light sources for still life’s. It is cheap, providing a lovely soft light. Just cover up part of the lighted area to reduce the light output. It’s not ‘daylight balanced’, but it’s close. You can modify the colour with coloured gels, tissue paper or translucent polythene. The long thin shape makes it easy to change the light angle – upright or lying down. The batteries seem to last ages. It is a great addition to your table-top kit.
I found the LED to produce the best light beams for this shoot. However, you could use other light sources or create beams with slitted cardboard.
The shoot
Work with the CD flat on the black card on the table. Before shooting play around with a few light angles to so you know how to create the reflections. It is best to work in a darkened room with just your light source. Leave a low light on so you can see where you are stepping. Set up your tripod close to the table. I usually work with it on the table suspending the camera upside down. This works well if your tripod can do that. Otherwise experiment for the right angle.
I find three essential things make your table top scene go well. They are:
- Be really, really, really clean and dust free! Your shots will show every dust-spot, mark, finger print and scratch. clean the CD and everything a lot. Wipe with fine grained quality cloths.
- To save time in post-processing, wear white cotton gloves
- Clean your lens. Close work shows-up dust spots on your lens.
For me, the abstract is spoilt by knowing it is a CD. I work close in to the CD. You only want to photograph part with the reflections. Get as close as you can and crop the shot later so the edges and centre are out of the shot. The effect is more abstract and dramatic.
To get really close I’ve used macro lenses. The whole frame can be filled with the segment of the CD you are shooting. Remember macro depth of field is very shallow. For sharpness your lens must be centered on the shot area with the lens glass parallel with the CD surface. Otherwise, anything goes. You can use the shallow depth of field too. Try out different effects. Experiment with other lenses. Remember, try to fill the frame to maximize the reflections you shoot.
Creative lighting
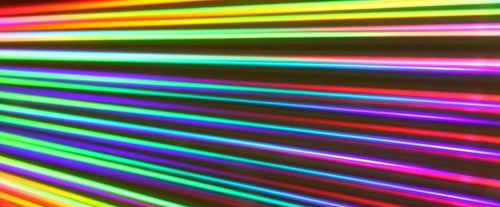
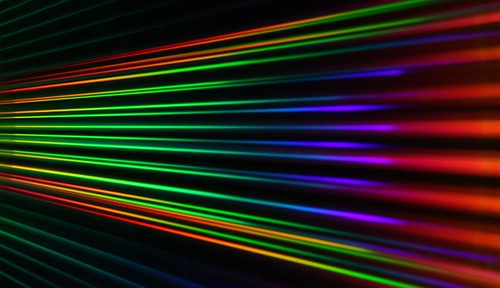
Use your light creatively to make your reflections. In the shots below my LED torch was on its side. It was placed about 50mm from the CD – just out of shot. The width of the light revealed all the LED beams to the CD creating an array of multi-colour reflections. You can cut the number of beams by using black card to blank out LED beams. Experiment to get your light the way you want it.
Creative lighting is all about experimenting. Work the scene as much as possible. Get different angles, heights, colours – try everything. Once you get some shots you like then work with your camera settings to get them just right.
Extension work
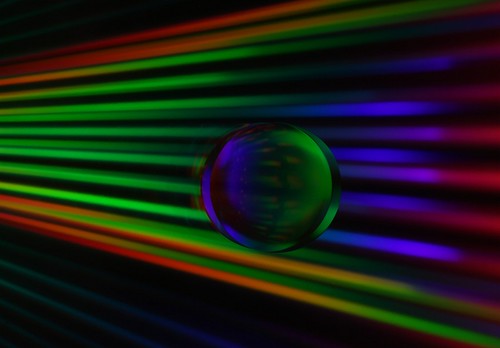
After getting some great reflection shots I tried out a few other ideas. I wanted to interrupt the straight reflection lines to provide a point of interest. I tried small objects and liquids. The best results were obtained with clear vegetable oil drops. Water tended to run. I added some gelatin to stabilize it and got some better results, especially with colours in the water. For me the oil drops were the most interesting and successful shots.
Try out some different small objects and liquid drops. I would like to have tried some clear objects like marbles, or small lenses to distort the reflections. All sorts of other ideas might work. See what you come up with.
My lighting scheme was themed around multiple LED beams from the torch. However, lots of other types of light could be used. You could try an unfocussed single beam, a few beams, say two or three or other light. Vary the light beam width – that might be fun. A range of beams from different angles would provide a set of wide spaced effects. I have used black cards (either side of the light beam) to create dark rims. I have also used reflecting coloured paper (wrapping paper?) to introduce random colours in the reflectance.
Let your imagination run wild. Have fun.
The results
My shots below might interest you. Some interesting ideas of your own may make all the difference. Give the project a go. Why not send us some of your pictures or a URL where we can link to them.


