• Ansel Adams – a documentary •
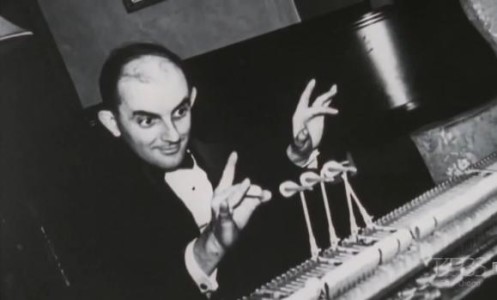
[Image from the video]
Images that expressed the majesty in nature.
Ansel Adams became a legend in his own lifetime. He saw something special in landscapes. That “something” bought alive the majesty we feel when we are awed by natural landscapes. Yet he was much more than a photographer. He was a musician, thinker, energetic conservationist AND an extraordinary photographer.
Special talents defined Ansel Adams
From early in life Ansel Adams was fascinated by music. He taught himself to play the piano. His father saw an extraordinary talent emerging. He took him out of school to concentrate on his music skills. He was home educated using some of the best instructors and teachers available. His musical skill developed and he exhibited great talent. Then in 1916, he encountered a book which excited an interest in the big landscapes that became his life’s work. His father took him to Yosemite with the rest of the family. He later said of the this experience…
“…the splendour of Yosemite burst upon us and it was glorious… One wonder after another descended upon us… There was light everywhere… A new era began for me.”
Ansel Adams
During the first visit to Yosemite Ansel Adams was given a Kodak “Box Brownie” camera. From that moment his approach to the extraordinary landscapes that he loved so much was changed. He became transfixed by his photography. However, his love of music came first. For a number of years during his 20’s he pursued a career as a concert pianist.
Ansel Adams met the woman who later became his wife in a small studio where he was practising his piano while on his summer sojourn in the Sierra Mountains. The affair was on-and-off for a number of years. Ansel Adams struggled to reconcile the two passions of his life – music and the great landscapes of the Sierra Mountains.
In the summer of 1923 Ansel Adams, then 21, had, what he later described as, a “transcendental experience” while out in the mountains. He struggled for another seven years with his artistic inclinations and his ambition to become a musician. But finally the mountains drew him back and he had grown tired of the the petty politics of the life of a musician. From that time on he dedicated his life to trying to capture the wonder and sharp detail of his earlier transcendental experience.
Comments, additions, amendments or ideas on this article? Contact Us
or why not leave a comment at the bottom of the page…
Photokonnexion Photographic Glossary – Definitions and articles.